Hike | Blanca Cordillera | Peru
How to hike the Santa Cruz Trek in 3 days (self-guided)
Text | Anninka Kraus
Photography | Tobias Kraus

Peru Ancash
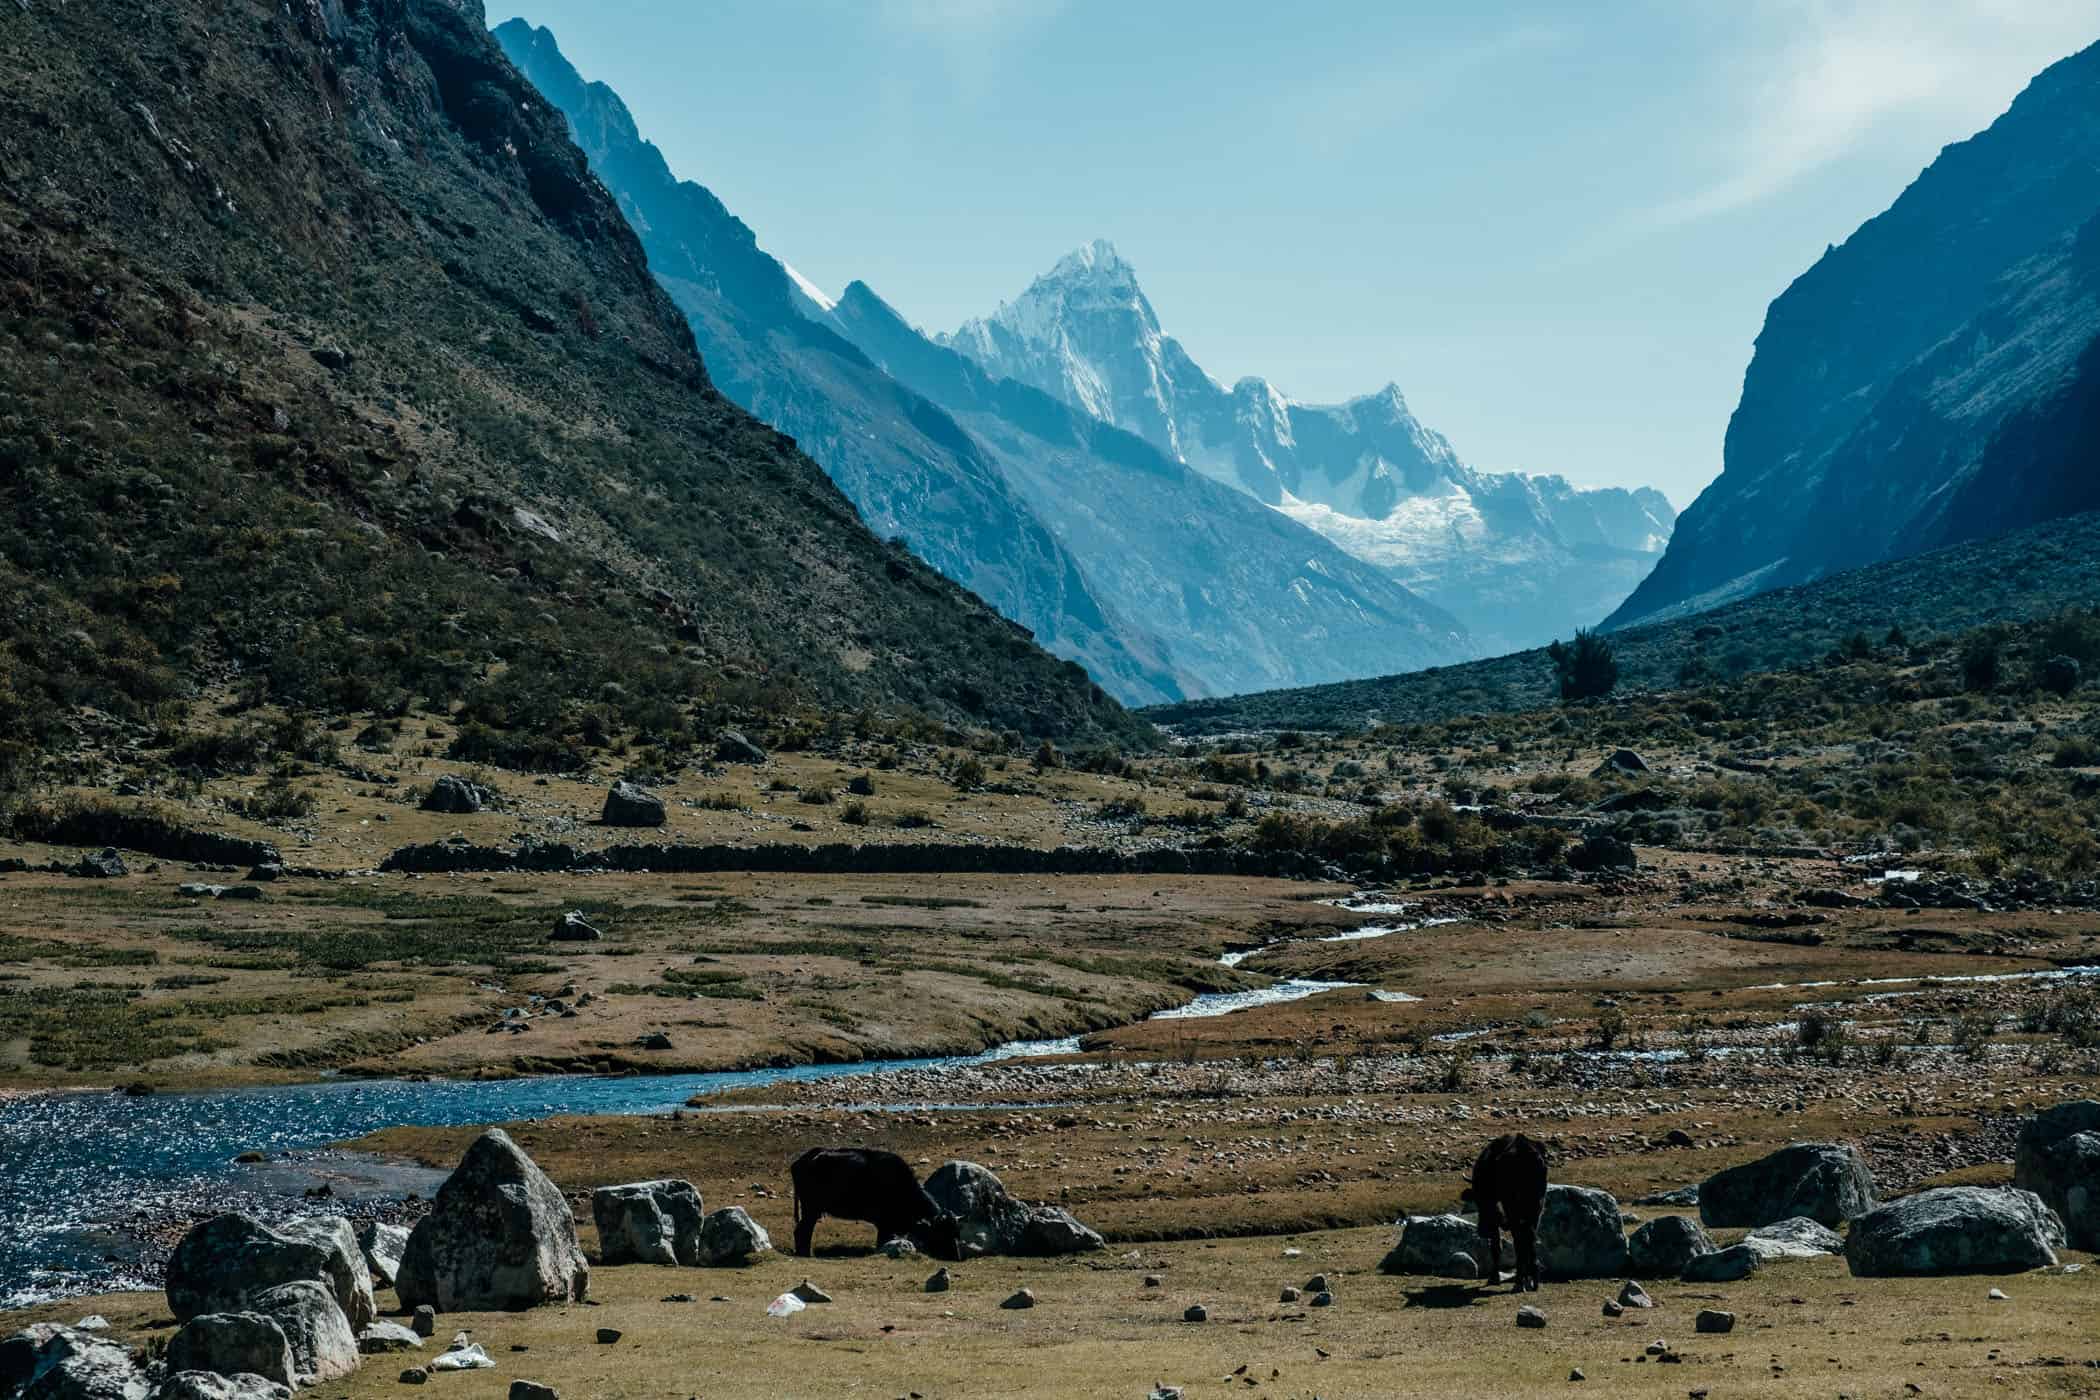
The Santa Cruz Trek in Peru’s snow-peaked Blanca Cordillera mountain range is a beautiful 3- or 4-day hike at high altitude and was voted one of the world’s best walks by National Geographic. The scenery is indeed spectacular, and passing through tiny mountain hamlets at first, before climbing ever higher into the mountains, the Santa Cruz Trek reminded us a lot of the Annapurna Circuit in Nepal.
Yet instead of hiking with a porter guide and sleeping in small teahouses as we did in Nepal, we hiked the Santa Cruz Trek self-guided with a tent, as there’s no other accommodation along the route. Most people will go with a tour operator and join a guided group, which is more comfortable and easier, as you won’t have to carry your gear or food, but you’ll still be sleeping in a tent.
If you’re an experienced hiker however and value solitude, the flexibility of creating your own itinerary, and hiking at your own pace, you’ll probably want to do the Santa Cruz Trek independently. Make sure to add a side trip to Laguna Arhuaycocha on day 2 (which is not part of the Santa Cruz Trek and is usually not included in guided group itineraries), and this hike may just become one of your favourite multi-day hikes, too.
Don’t go solo though, but team up with a fellow hiker who will help in case things go wrong, especially in shoulder season when there are few people on the trek. You’ll cross the 4750m Punta Union Pass and hike long stretches above 4000m, so if you roll an ankle or experience altitude sickness, you want to be with someone you can rely on.
We hiked at the end of October, the beginning of the low season, which was perfect in every regard – the weather was fantastic, the scenery breathtaking every step of the way, and we met no more than a dozen hikers over the three days of our hike.
Hiking the Santa Cruz Trek is pretty straightforward, but you’ll still want to go prepared – we hope this guide helps you with the planning, and if you still have questions, feel free to get in touch.
trail info.
Start: Vaqueria
End: Cashapampa
Distance: 55km
Time: 3-4 days
Difficulty: moderate to difficult; the track itself is not technical but the high altitude requires prior acclimatization and hiking experience
related.
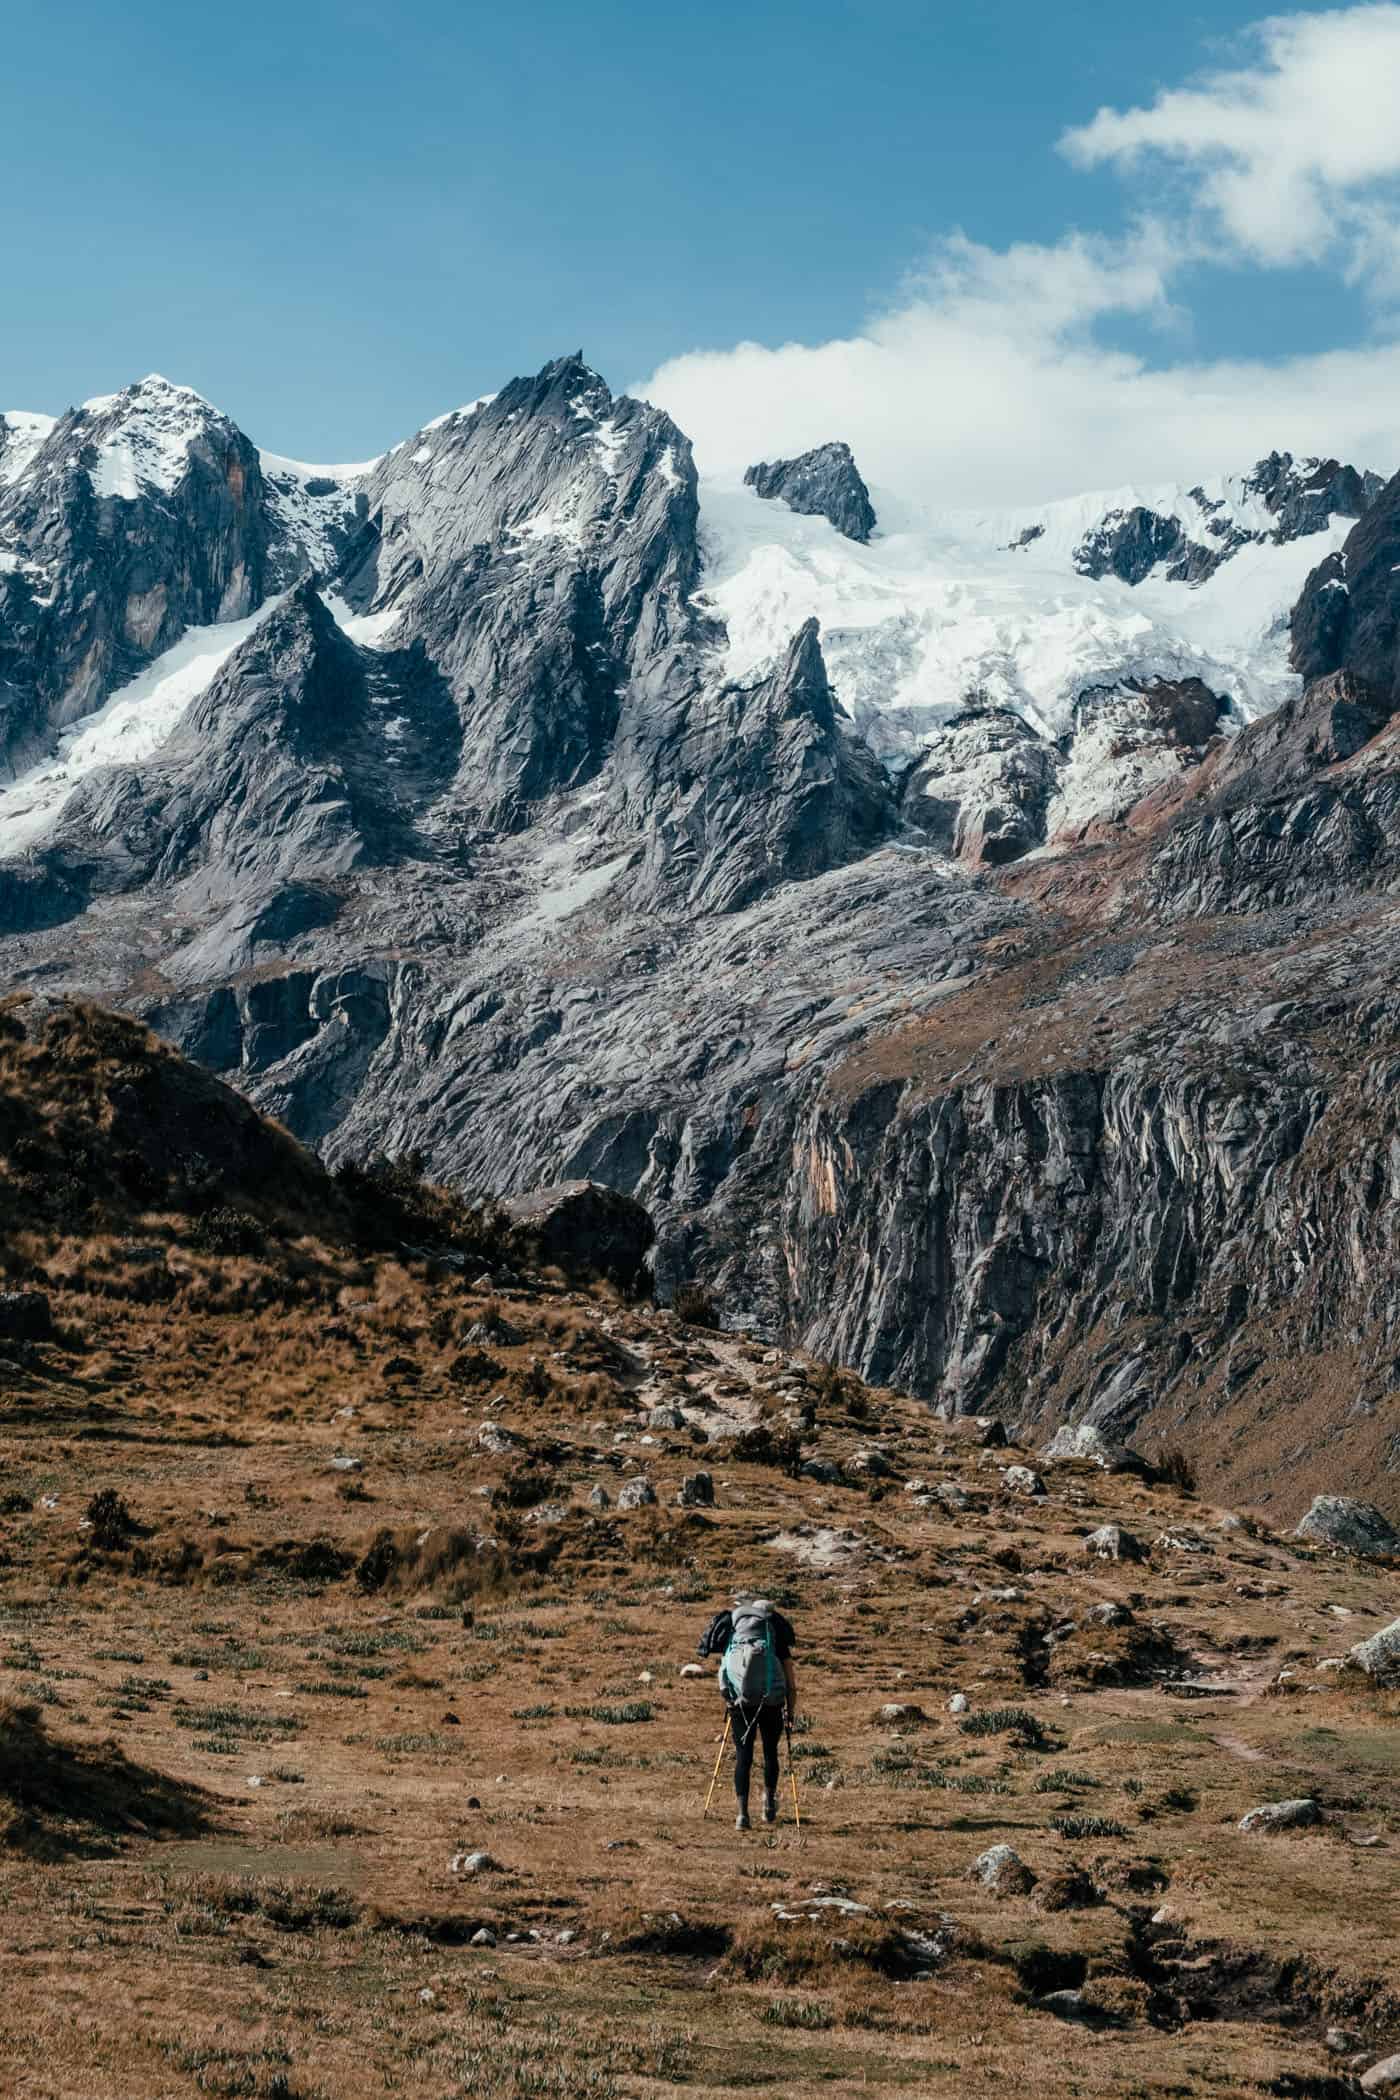
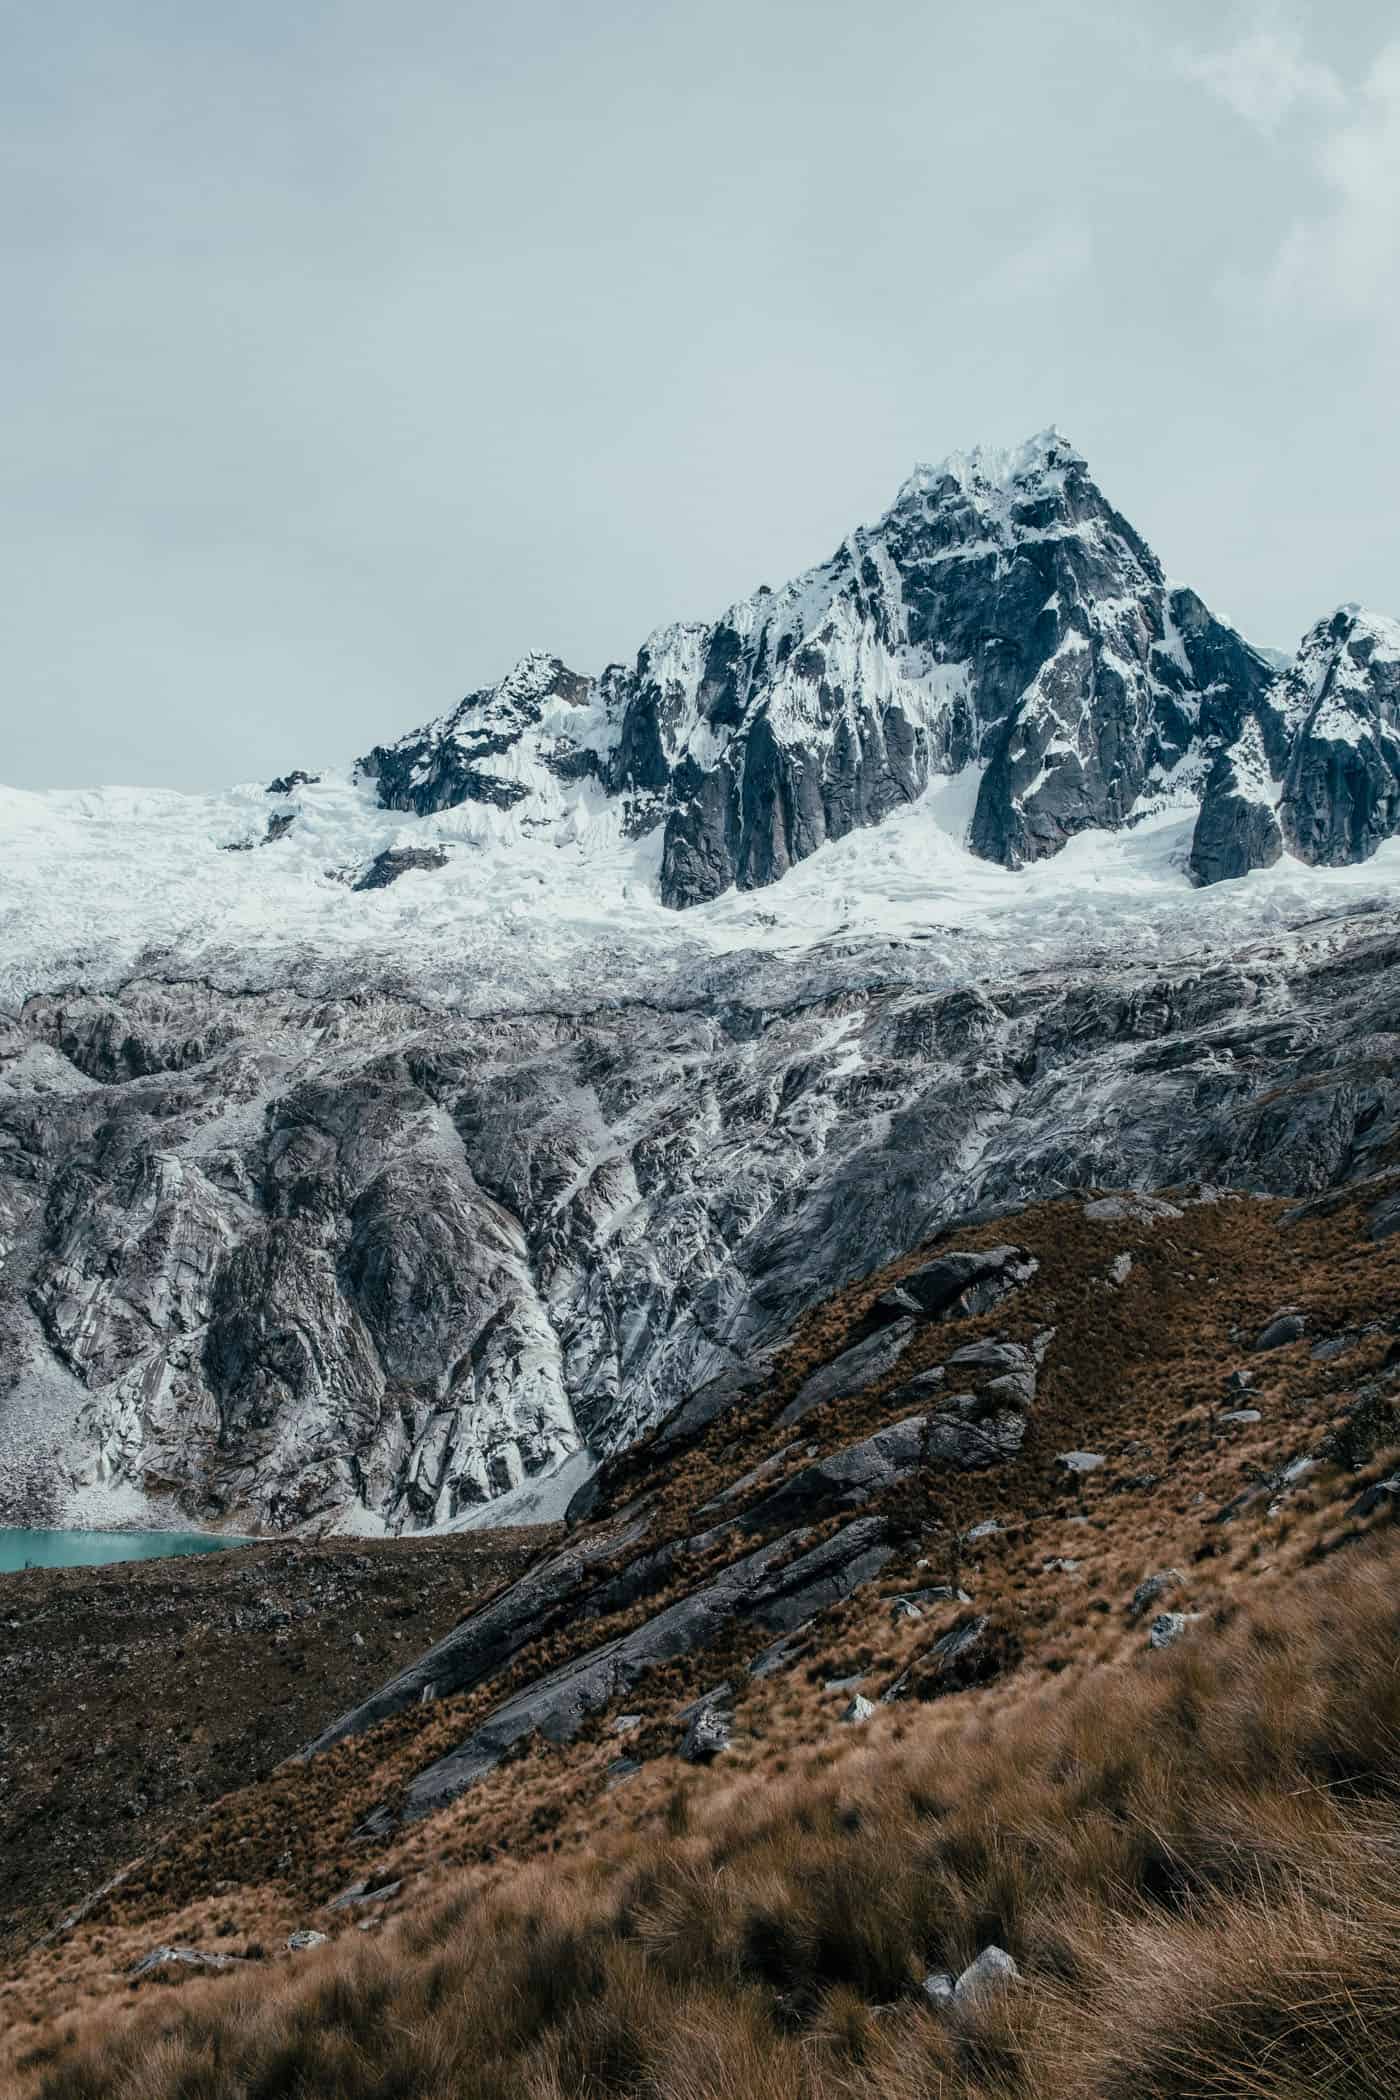


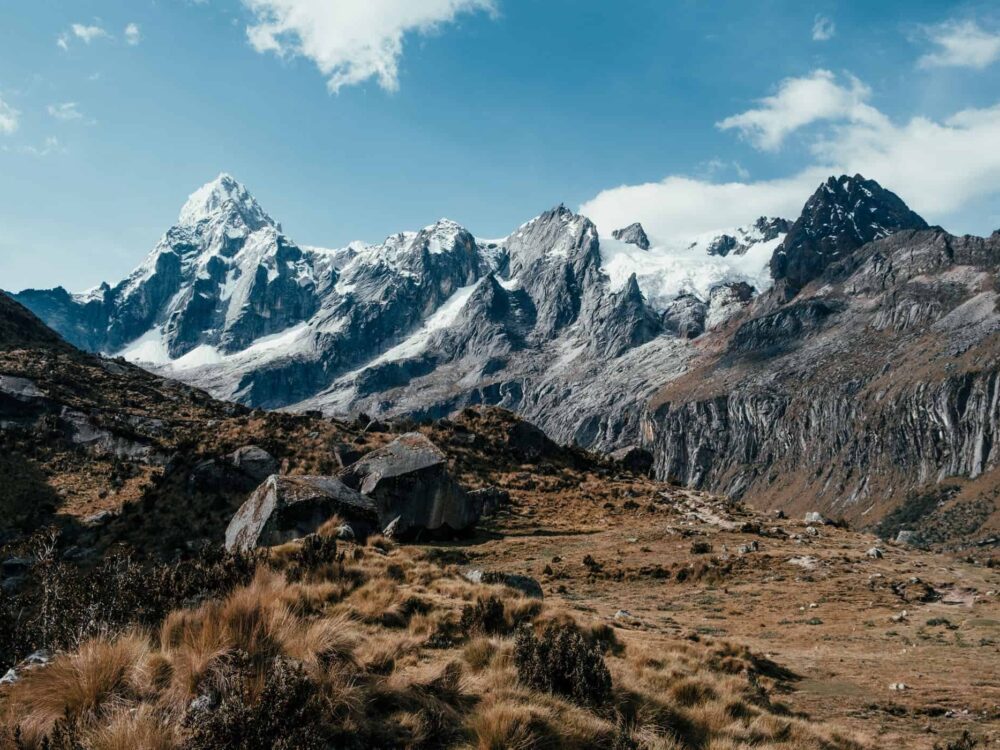

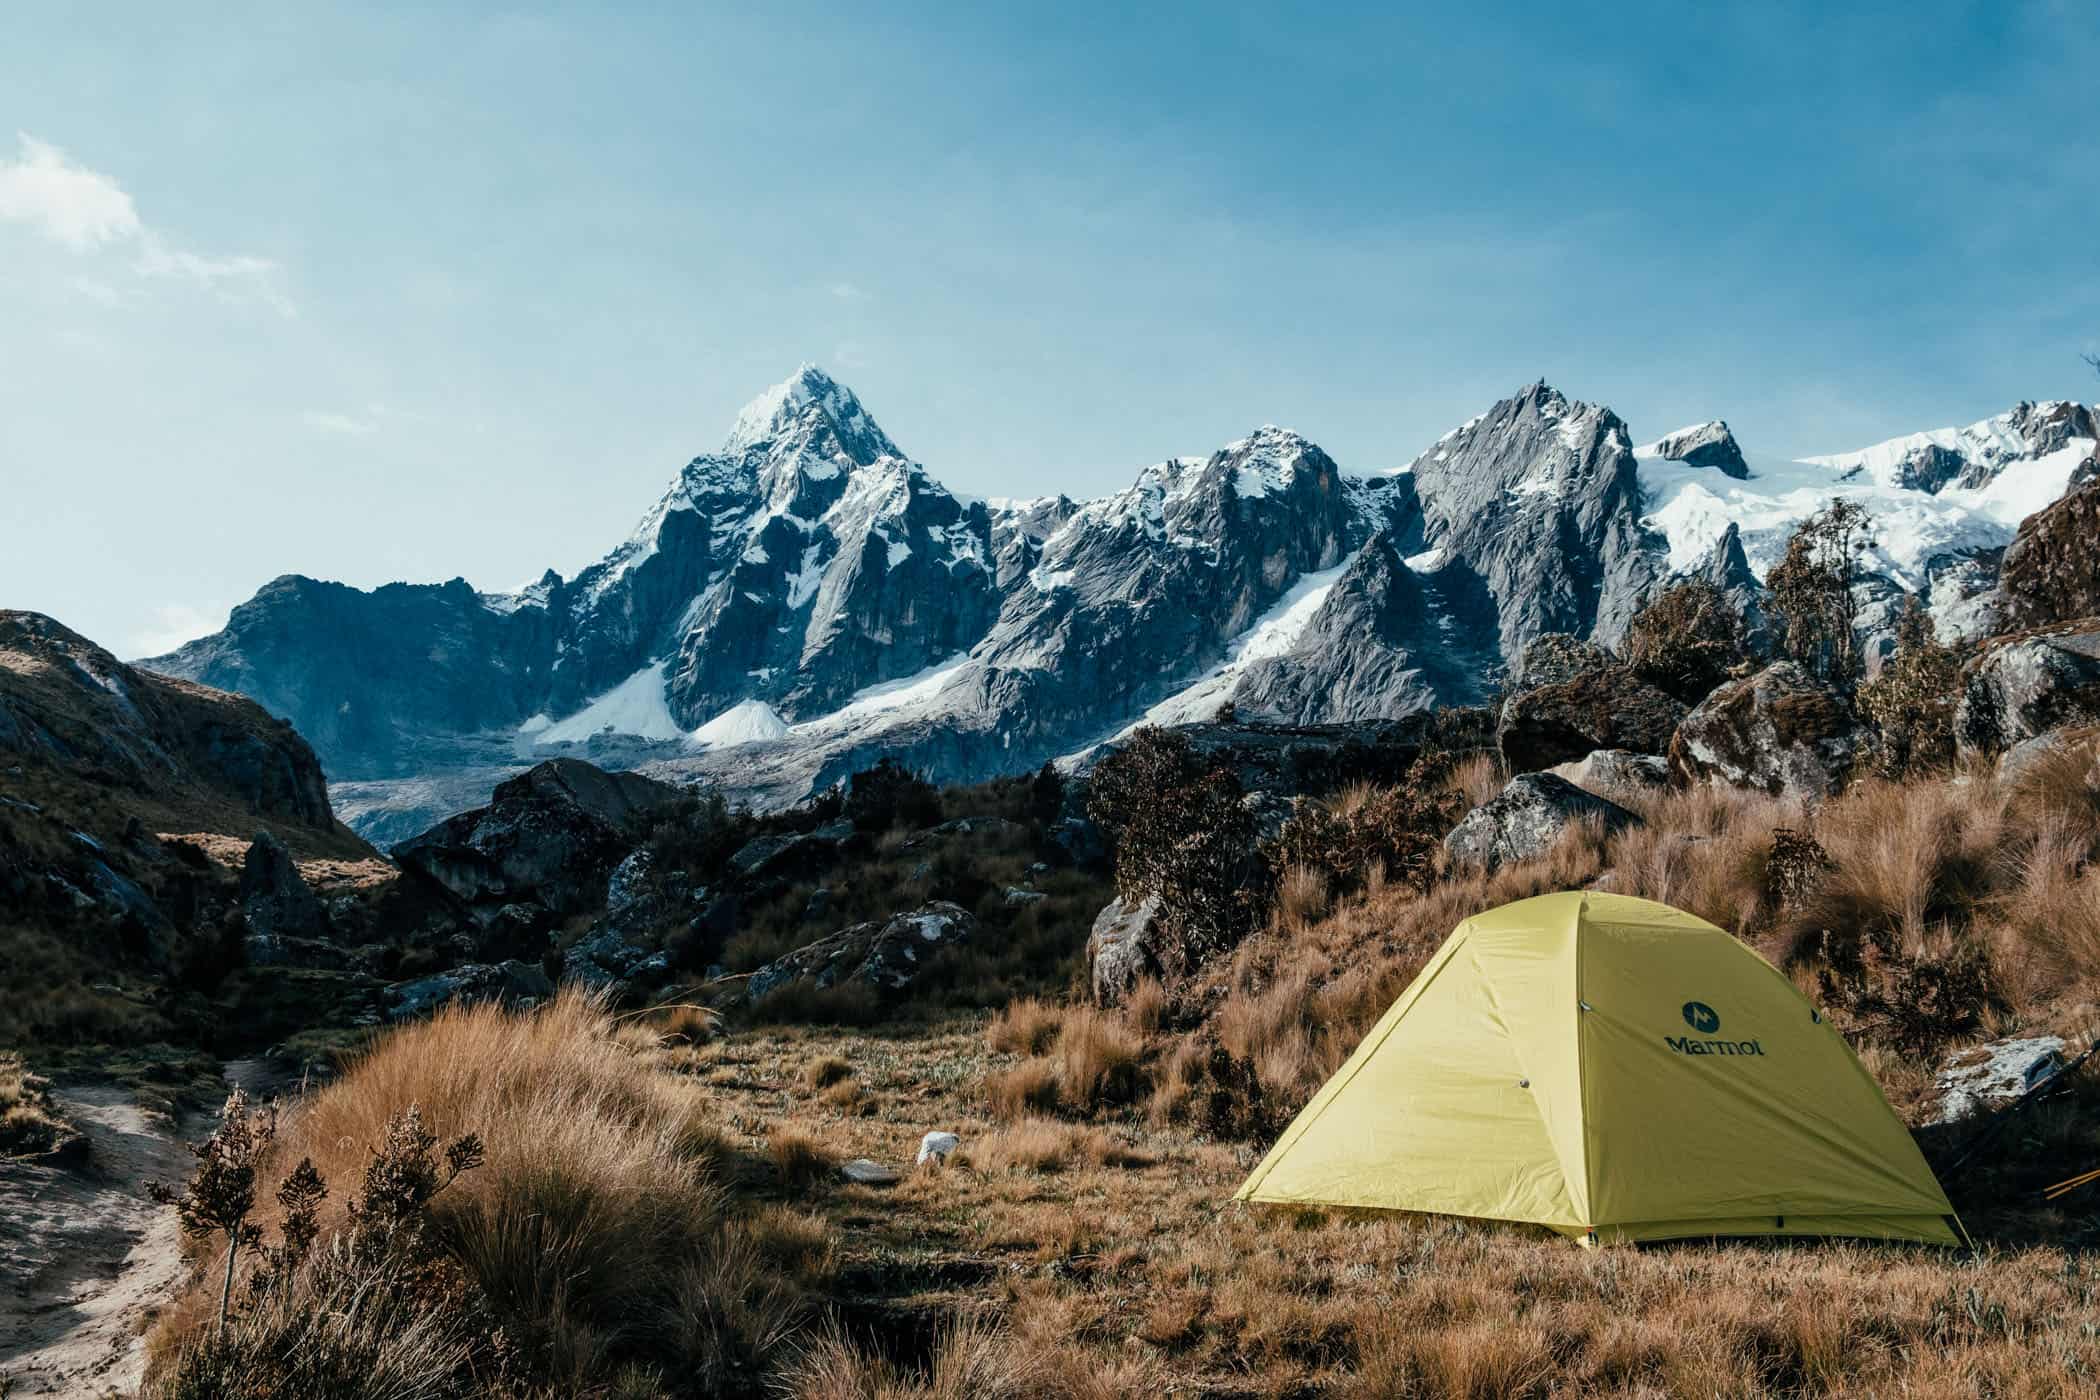
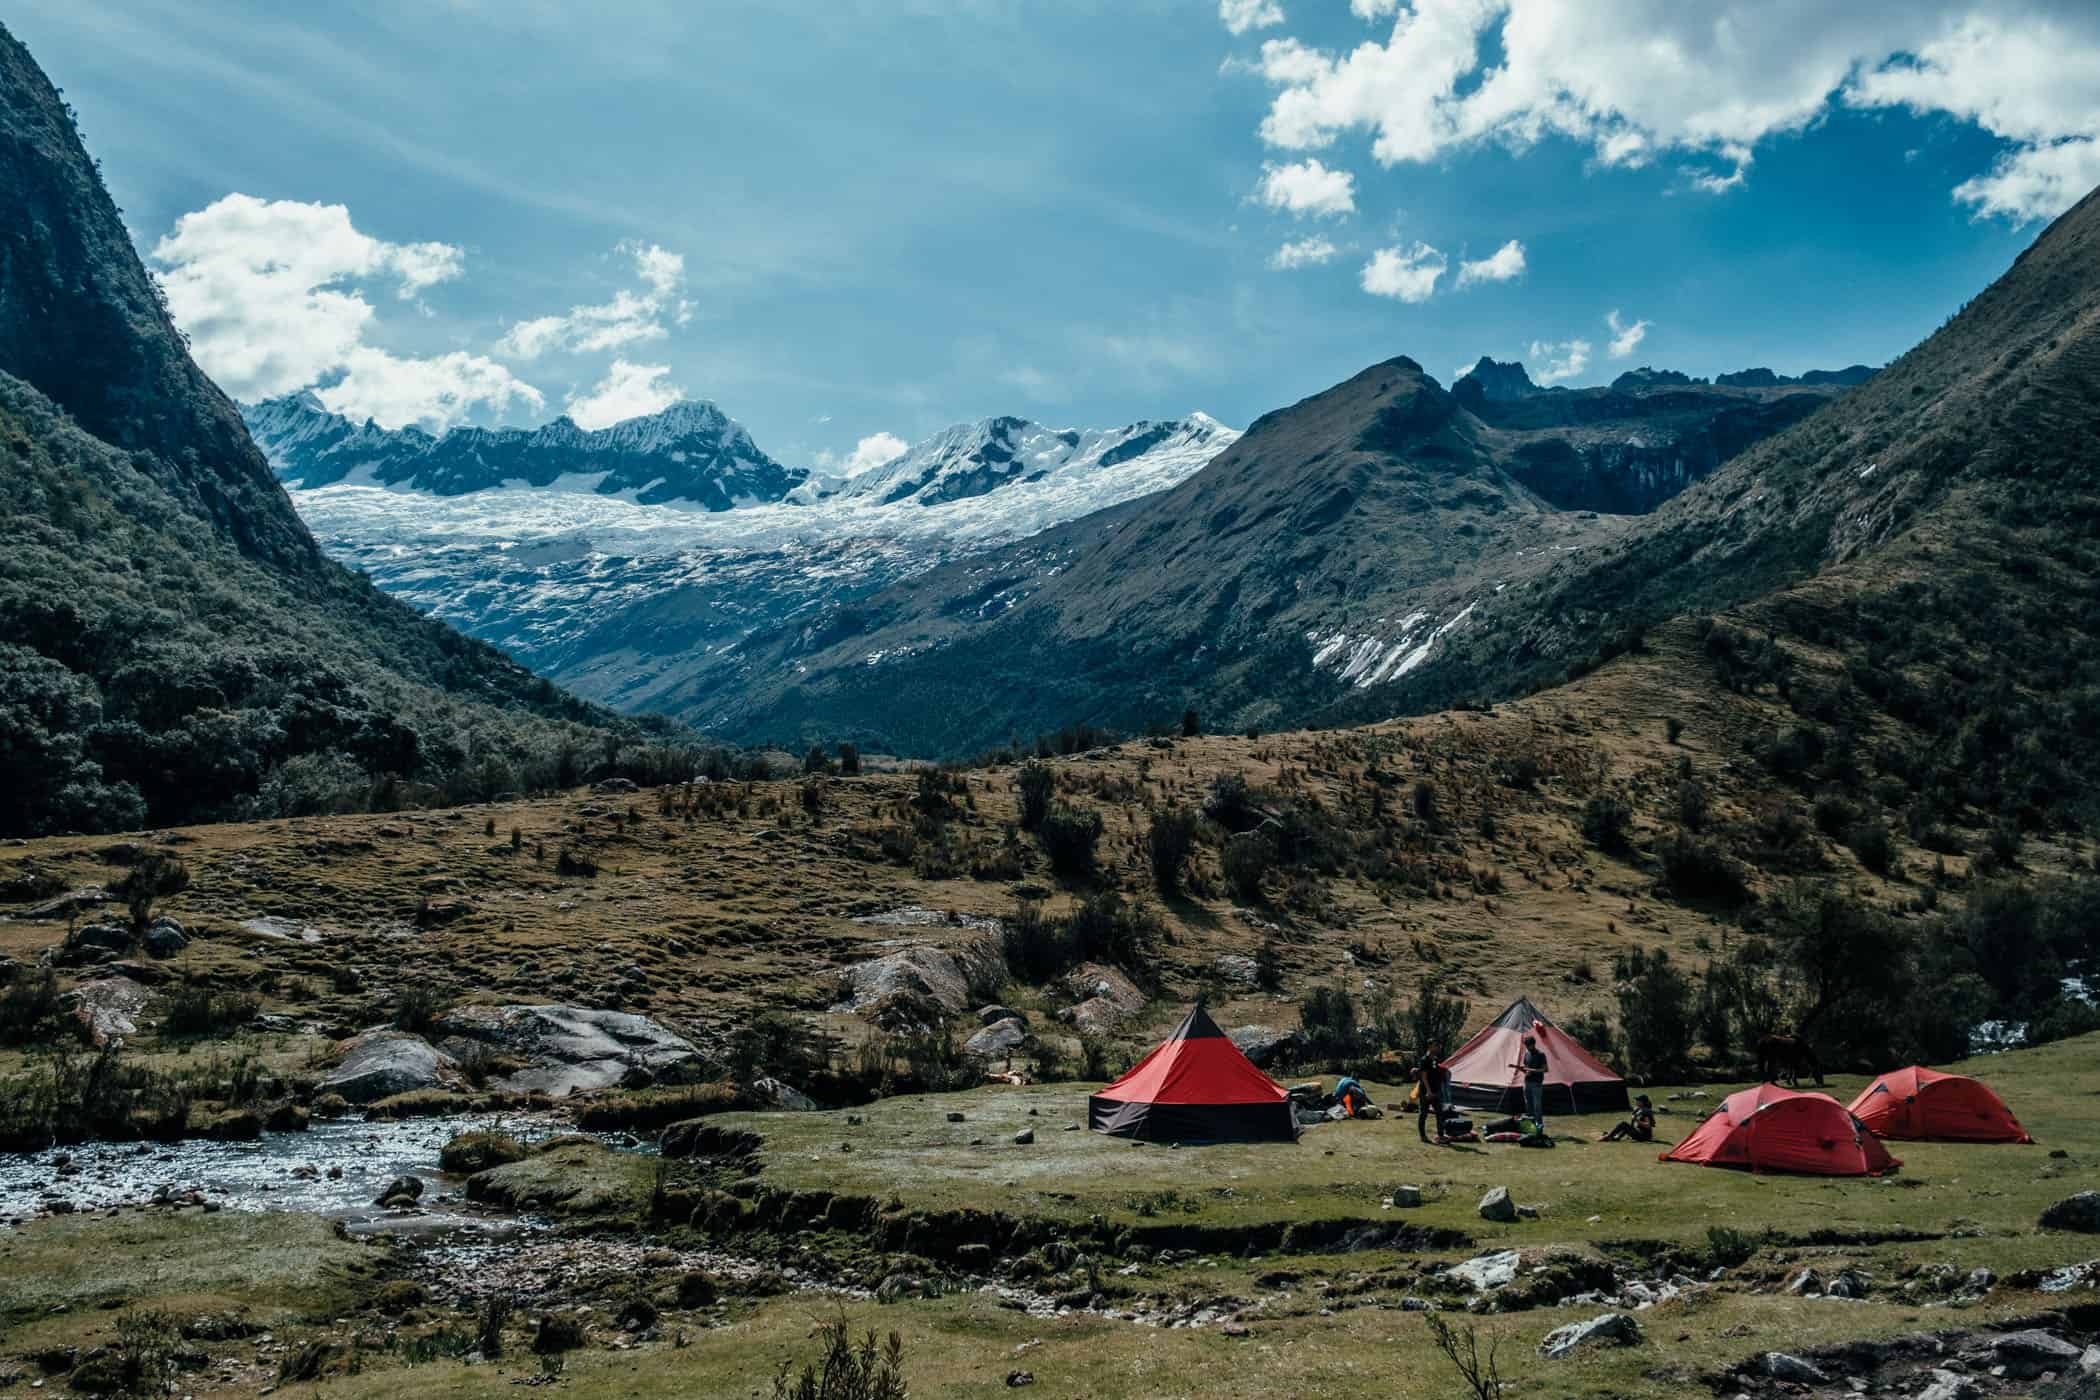
One of many spectacular camping spots on the Santa Cruz Trek.
what to expect.
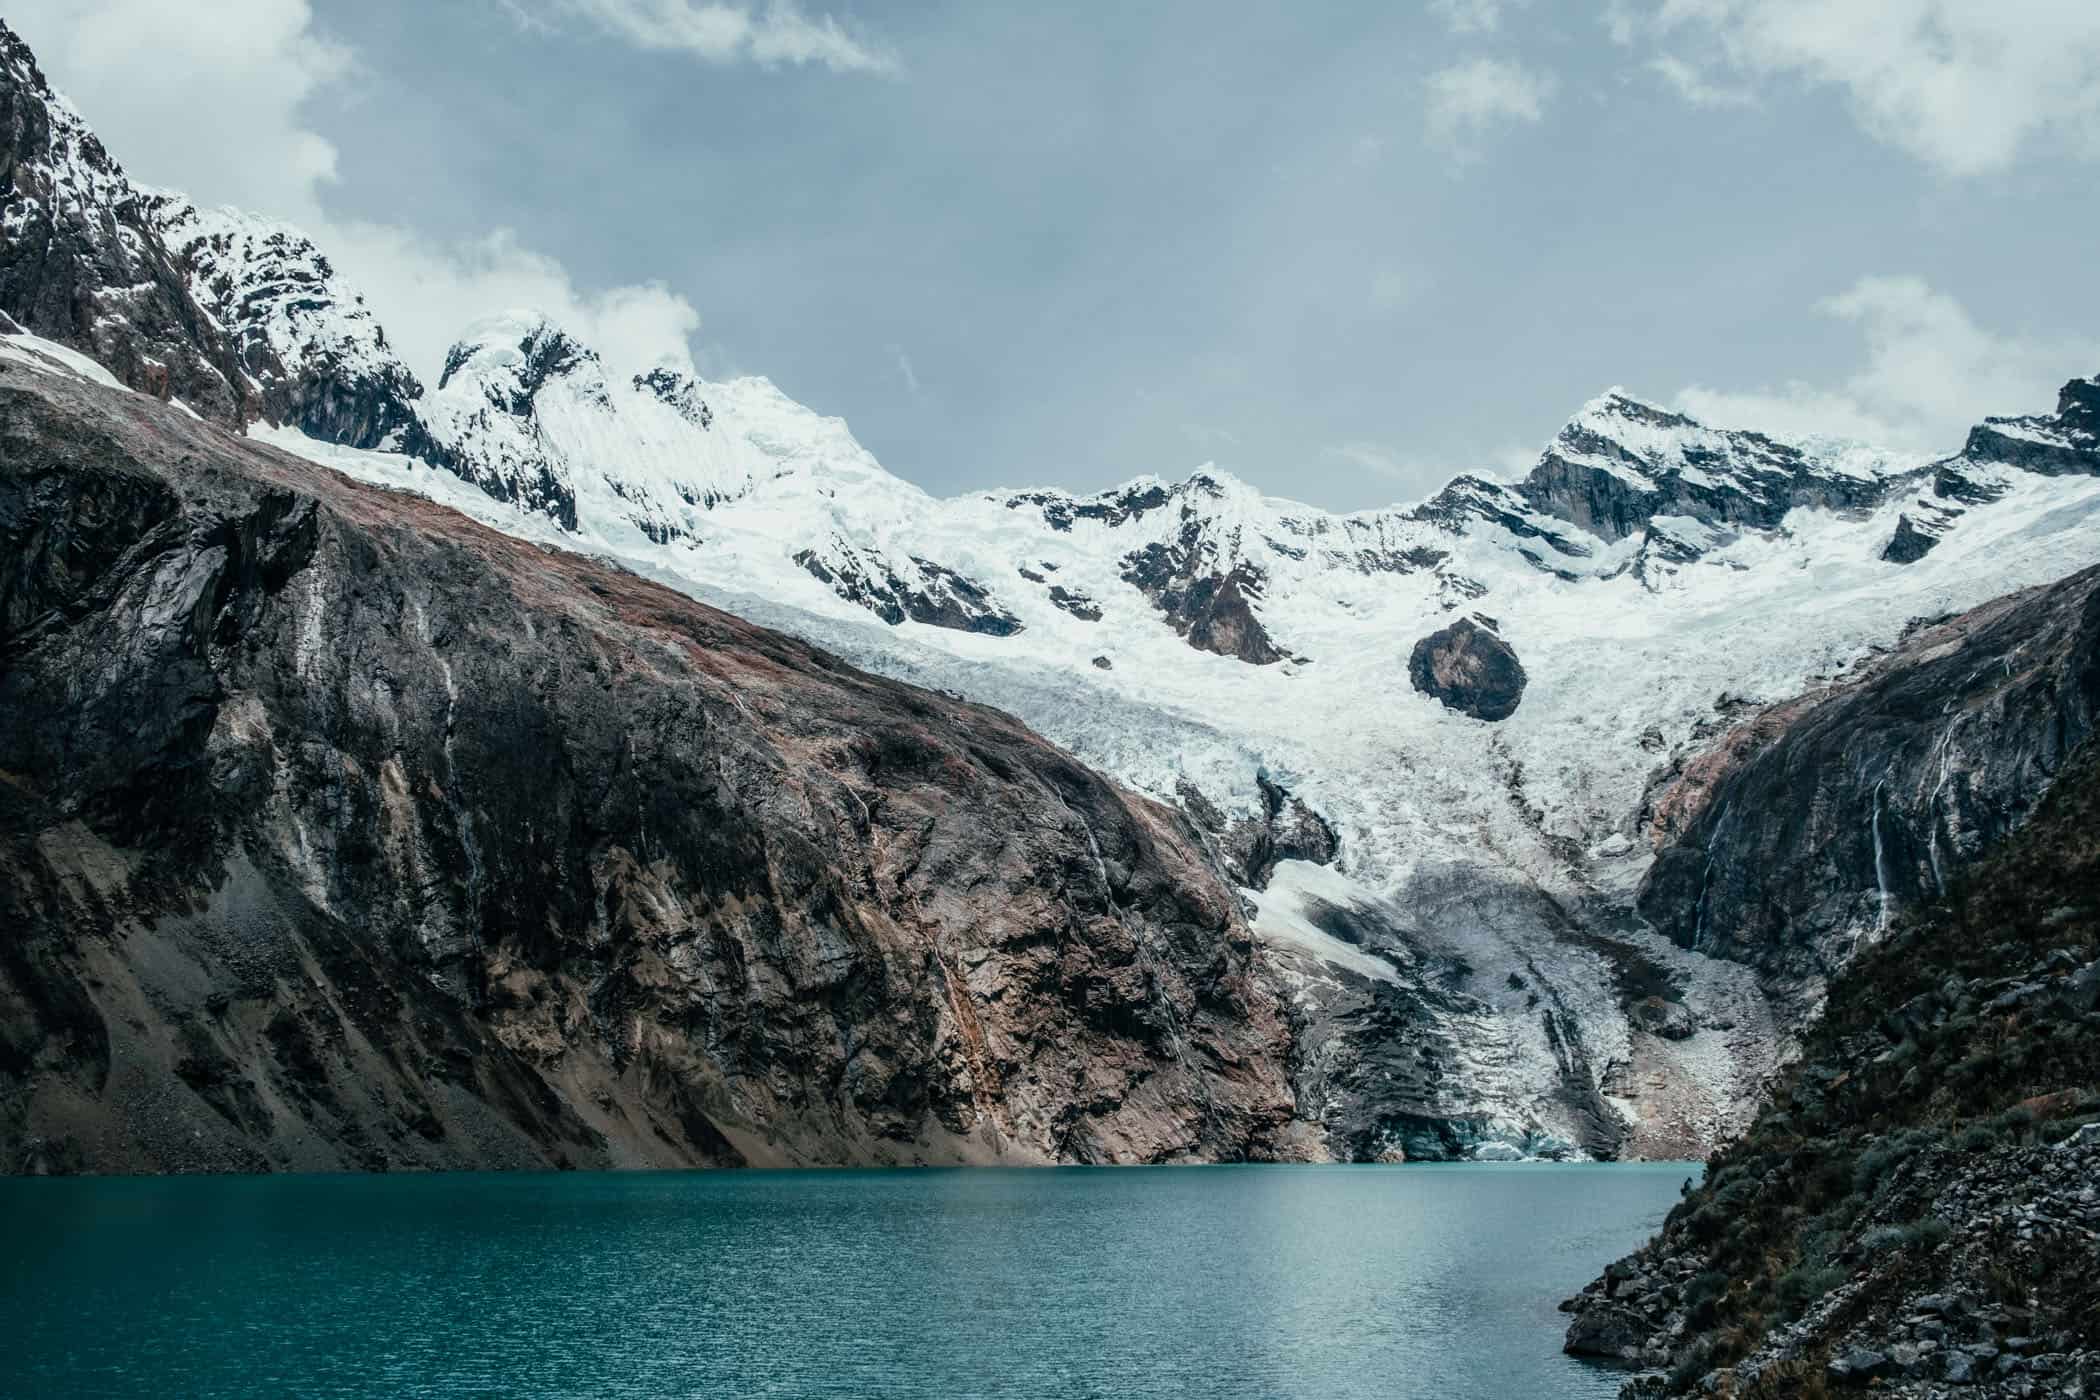
An optional side trip to Laguna Arhuaycocha, a turquoise blue lake nestled at the foot of a semicircle of impressive peaks
A trek that someone with hiking experience and proper acclimatization can easily do self-guided
location & trail information.
Location of the Santa Cruz Trek: The Santa Cruz Trek runs between Vaqueria and Cashapampa through the snowcapped Cordillera Blanca mountain range in Huascaran National Park, in northern Peru’s Ancash region. Most people will start their trip where most tour operators are based – in Huaraz, at 3052m above sea level, which is a great place to acclimatize. Another option is the smaller and quieter city of Caraz at 2256m above sea level, which is warmer thanks to its lower altitude and closer to the start of the Laguna 69 and Santa Cruz treks. If you’re not keen on 4-5 am starts, like us, but want to go hiking, consider staying in Caraz.
We managed well by acclimatizing in Caraz for two days, hiking to Laguna 69, and then tackling the Santa Cruz Trek. If you decide to stay in Caraz, check out the Pukayaku Lodge, run by Belissa and Jorge. The hosts are wonderful people, who helped us plan our hikes, organized transportation, stored our luggage, and invitied us to a super fun game of sapo (frog) with their friends.
The best way to hike the Santa Cruz Trek: The Santa Cruz Trek runs between Vaqueria at 3700mm and Cashapampa at 2900m and can be walked in either direction. Vaqueria, however, is the preferred starting point because there’s less total elevation gain to tackle if you hike east to west. Also, when you finish the hike, it’s a much longer drive back from Vaqueria to Huaraz/Caraz than from Cashapampa, so depending on how late you get off the track in Vaqueria, you might not make it back to your hotel before dark. And Cashapampa generally has more colectivos passing through as well.
How to get to the Santa Cruz Trek and back: First, you’ll need to get from Lima to Huaraz or Caraz, and for the time being, the only transport option is by bus. It’s a long, 8+ hour ride to Huaraz, and 10+ hours to Caraz, but at least there are plenty of bus operators to choose from. We went with Cruz del Sur, one of the most reliable and comfortable operators with an online booking system, and changed to a taxi (S./ 120) in Huaraz for the 1.5-hour drive to Caraz.
There are currently no airlines operating flights to Comandante FAP Germán Arias Graziani Airport, the closest airport to Huaraz, but hopefully, when more tourists return to the region, they’ll resume flight operations.
You can save on one night’s accommodation and a day’s journey by taking the night bus, which departs Lima at 10 pm, arriving in Huaraz at 5:30 am; in the opposite direction, departing Huaraz at 10:10 pm, arriving in Lima at 5:25 am. If you’re taking the night bus you might want to book a seat that reclines 180 degrees (cama suite).
How to get from Huaraz or Caraz to Vaqueria: Whether you’re staying in Huaraz or Caraz, you’ll first have to make your way to Yungay, a small town 20-30 minutes out of Caraz and a 1.5-hour ride from Huaraz, either by taxi or by colectivo.
In Yungay, you’ll have to change to another colectivo for the 3.5-hour drive to Vaqueria. Tell the driver that you’re hiking the Santa Cruz Trek, and he’ll drop you off right where the track starts.
You’ll want to leave early from Yungay, like 7 am-8 am early, so that you start hiking from Vaqueria before noon. The colectivo will only depart when it’s full, so you’ll likely have to wait a while.
On the way to Vaqueria, the colectivo will stop at the entrance to Huascaran National Park, where you can buy your park entrance permit. Once in Vaqueria, you’ll have to register your details before starting your hike. It’s all very straightforward – an official was waiting where the colectivo dropped us off in Vaqueria, and the trailhead is a small dirt path starting just across the road.
Also, one word of advice: Don’t sit at the very back of the colectivo, if you can help it, because they usually pile four people into the back seat, making for a very uncomfortable ride. You’ll be much better off in a row that seats two, or in a single seat. And in case you’re wondering about taking a taxi to Vaqueria – we discussed that option with our host, but it’s too far and not an option, unfortunately. If you’re ever unsure about where to go, where colectivos depart, which colectivo to take, and so forth, ask a local. Everyone we met was helpful and happy to point us in the right direction.
How to get from Cashapampa to Caraz or Huaraz: You’ll exit the track in the small mountain village of Cashapampa after passing by a ranger station (closed at the time) and a sign pointing towards Cashapampa. Follow that sign until the track meets a road on the outskirts of the little village, and wait for a colectivo heading left, directly towards Caraz. Colectivos pass through quite frequently in the morning and up until around lunchtime, but try to make it to Cashapampa by early afternoon as fewer colectivos run later in the day, if any. It’s a 45min to 1 hour-drive to Caraz (S./ 20 pp at the time), where you can change to another colectivo taking you to Huaraz.
Hiking the Santa Cruz Trek in 3 or 4 days: If you’re an experienced, well-acclimatized hiker, doing the Santa Cruz Trek independently, you’ll easily manage the trek in 3 days. We started in Vaqueria at 11 am on day 1 and finished in Cashapampa at 11 am on day 3, and we didn’t rush it and also hiked to Laguna Arhuaycocha on day 2. The scenery is spectacular though, and every additional day spent hiking in these mountains will be absolutely worth it. If you’re unsure whether you’ll manage in 3 or 4 days, take food for 4 days to be on the safe side.
If you’re hiking independently in peak season, you’ll want to avoid the busy campsites where the groups stay – Paria, Taullipampa, and Llamacorral. We went in shoulder season and met only about a dozen people on the trek, two small guided groups included, so every campsite was quiet. Nevertheless, we didn’t stay at any of the large campsites, because they didn’t fit our itinerary. Instead, we chose smaller, secluded campsites that we shared with only one other person the first night and no-one the second night. Wild camping it seems is also permitted, so feel free to set up camp anywhere but leave no trace.
Santa Cruz Trek Difficulty and Safety: Difficulty is subjective, so it’s hard to say whether the Santa Cruz Trek is of moderate or high difficulty, but experienced, fit, and well-acclimatized hikers will probably consider this a moderately difficult trek.
The track itself isn’t technical, but taking hiking poles will make the steep, slippery downhill sections on day 3 much easier on your knees. The only truly difficult aspect of the Santa Cruz Trek is the altitude, which is why proper acclimatization before starting this hike is essential.
The track is well-trodden and marked. It’s unlikely you’ll get lost once you’re on the proper track, but making your way from the drop-off point in Vaqueria to the first ranger station and official starting point of the track is a little tricky. You’ll pass through a couple of small villages and walk along roads that are not marked, and downloading the gpx files at the end of this post for offline use (there’s no cellphone reception in the park) will be helpful.
The Santa Cruz Trek is generally considered to be safe, but I’m always surprised when someone suggests hiking multi-day treks solo. Don’t. If things go wrong, you don’t want to be on your own.
Unlike hiking in Australia, there’s no need to worry about dangerous animals on the Santa Cruz Trek, though, and at this elevation, we didn’t need insect repellent either.
You might come across maps that mark Colcabamba as starting point of the Santa Cruz Trek, instead of Vaqueria. We still haven’t quite figured out why that is, but the start of the Santa Cruz Trek is definitely in Vaqueria.
Last but not least, it’s important that you take your passport or a copy – you’ll need it to register at the ranger station.
When to hike the Santa Cruz Trek: Peak season with the best trekking conditions is in winter, when you’re almost guaranteed blue skies and sunshine. That’s also the time, when the trek is busiest, however, so we decided to go in early spring, at the end of October and the start of the rainy season.
We were lucky and didn’t see a drop of rain, but spring and summer, the wet season that runs from November to April, tends to be a lot rainier, with snow in the mountains and clouds obscuring the mountains.
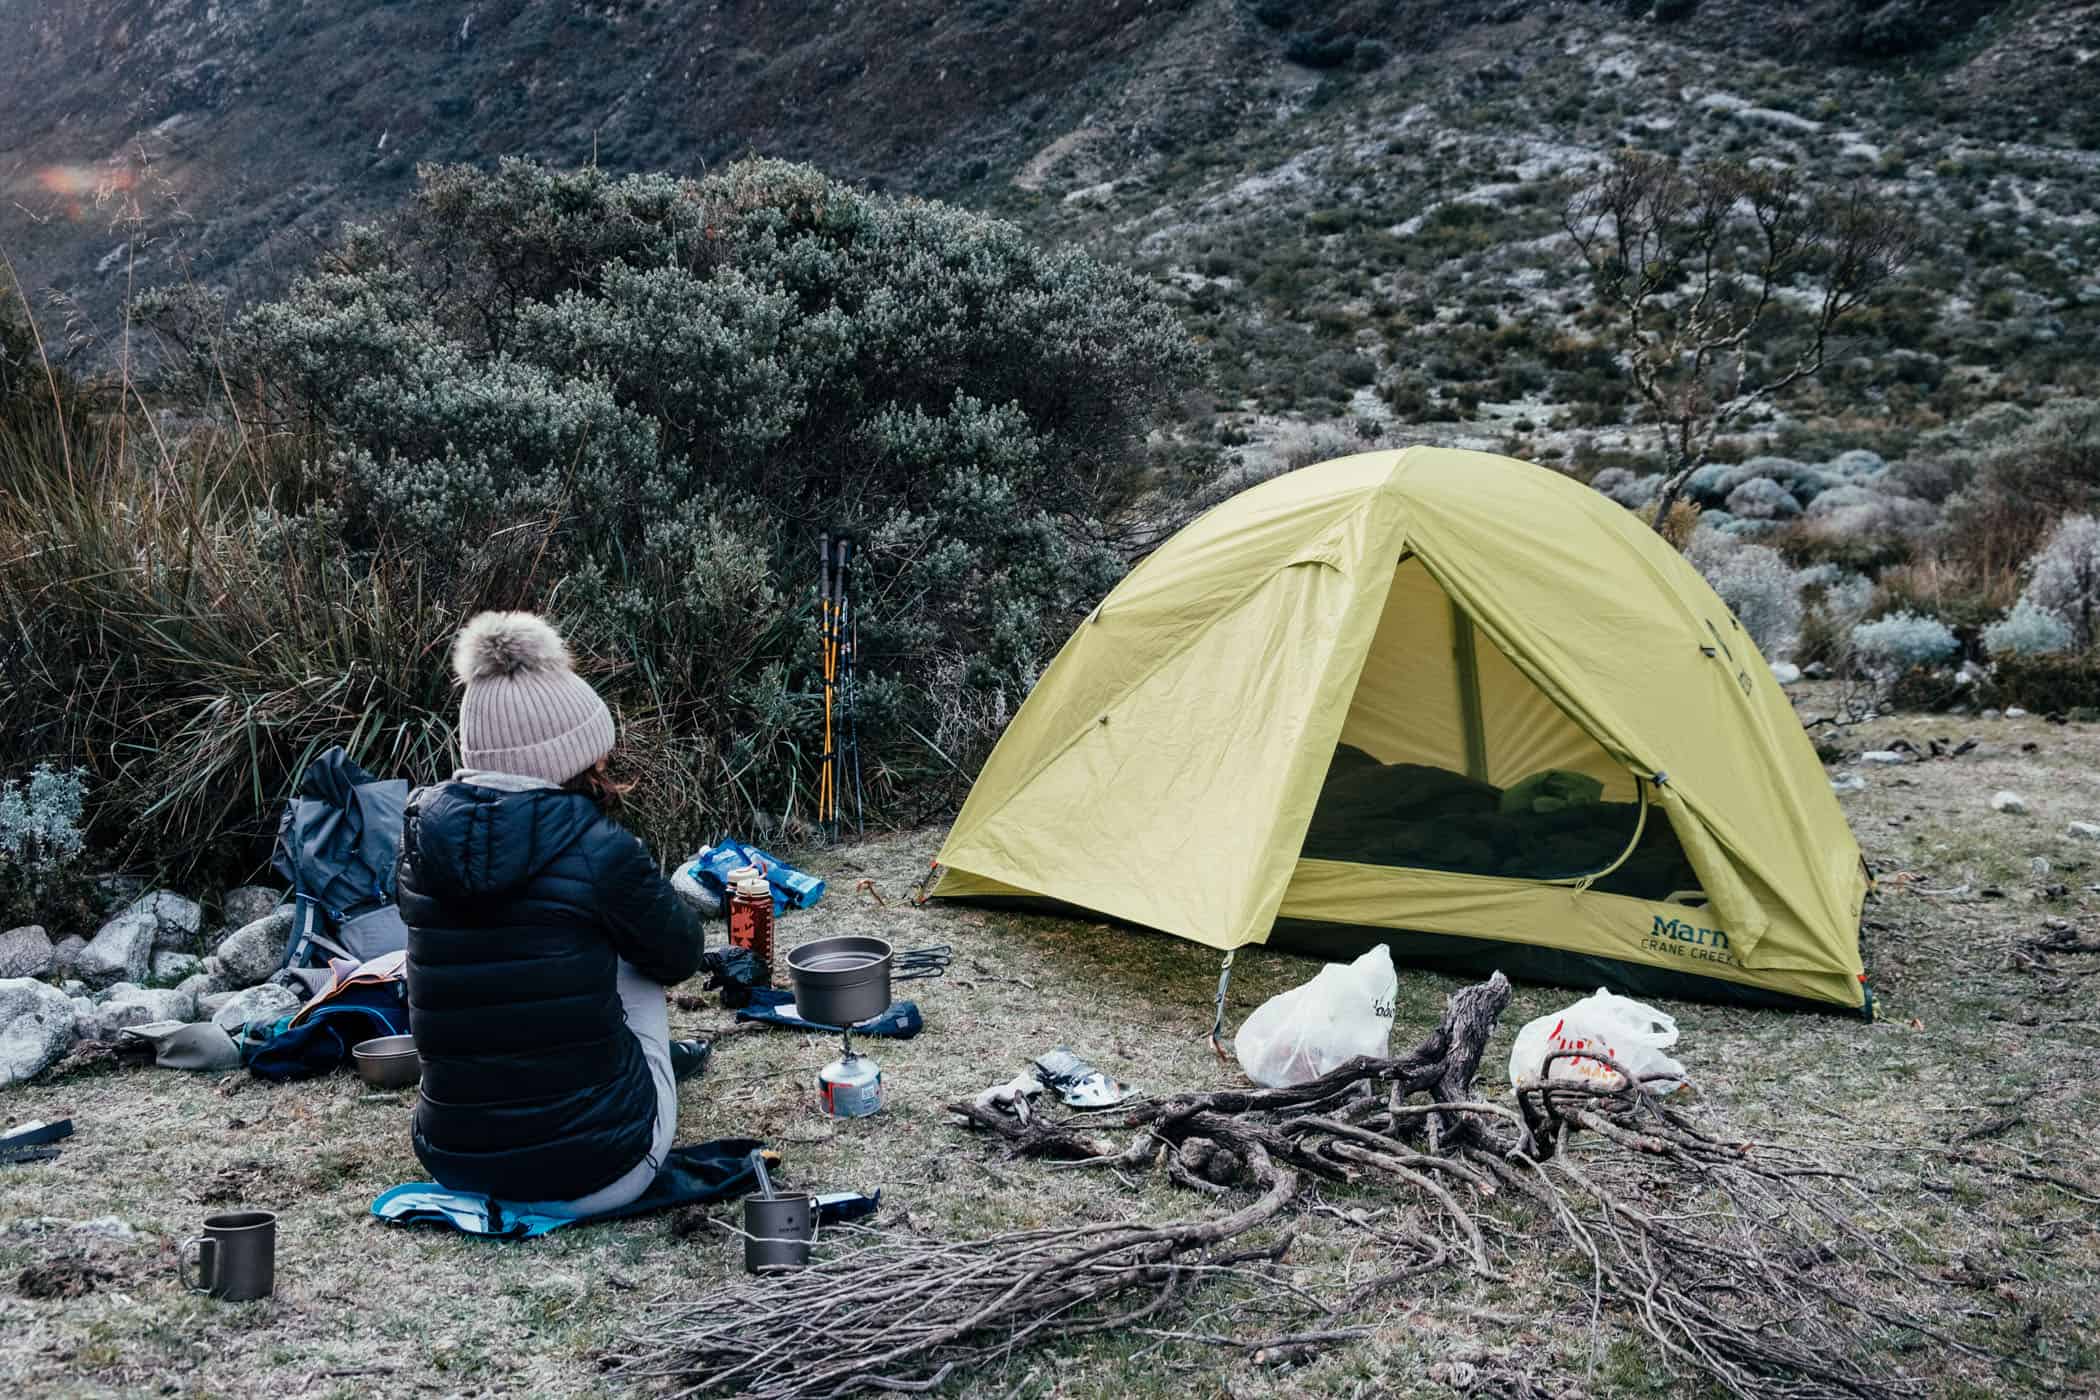
Check the weather forecast before starting your hike and postpone the trip if necessary. It’s much colder in the mountains than in Huaraz or Caraz, and rain at lower altitudes equals snow and freezing conditions in the mountains. We had bright sunshine every day and yet, temperatures dropped below freezing point at night, and our tent and backpacks were frozen in the morning.
If the weather turns bad unexpectedly, turn back or stay put, whatever is safest, but don’t try crossing the pass.
Cost of hiking the Santa Cruz Trek independently: Hiking the Santa Cruz Trek independently doesn’t cost much (colectivo transport from Huaraz/Caraz to Vaqueria and back from Cashapampa is around S./ 100 per person; the 3-day entry permit to Huascaran National Park is another S./ 30) and is obviously a great deal cheaper than joining a guided tour. Some people apparently also had to pay a park exit fee of S./ 30 in addition to the 3-day park entrance fee, but when we exited the trek at Cashapampa in shoulder season, the ranger station was closed.
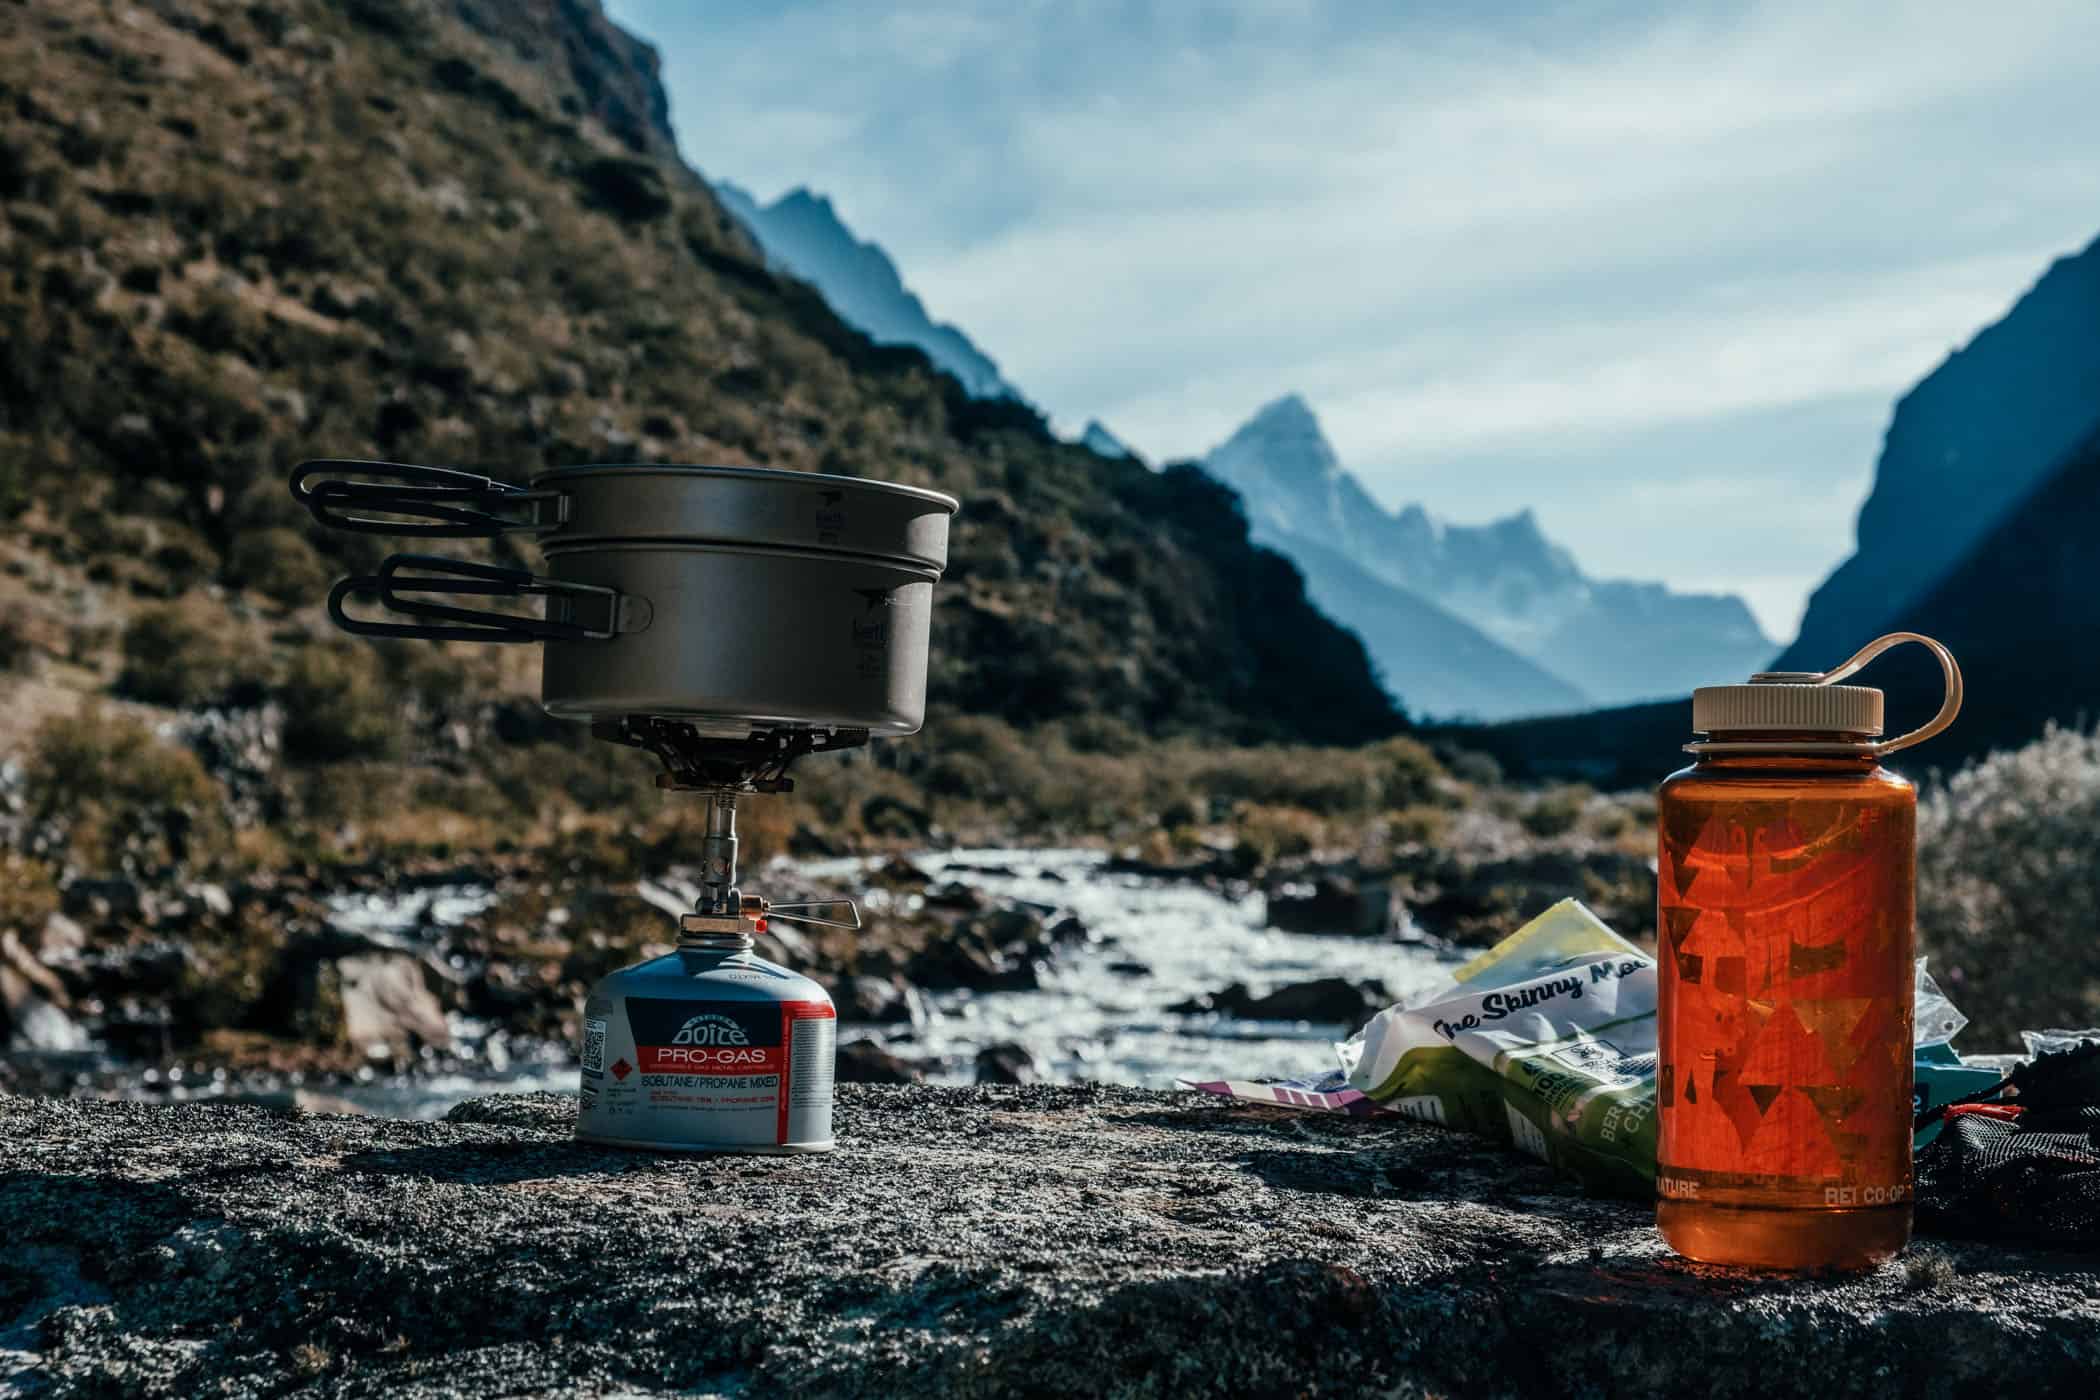
We had our own camping gear, but if you need to rent gear, there are plenty of rental outlets in Huaraz and one that we could find in Caraz that also sells propane canisters (Pony’s Expedition, Jirón Sucre).
Water on the Santa Cruz Trek: Finding a water source on the Santa Cruz Trek is not an issue. You’ll either hike next to a river or come across streams frequently. All water needs to be treated though, so bring water purification tablets, a water filter, or boil water before drinking. We use the Sawyer Squeeze, which is lightweight and a tasteless/odourless water treatment option.
Food on the trek: When we hiked the Santa Cruz Trek at the end of October there was no opportunity to buy food along the track, other than a couple of small stalls in Vaqueria and Cashapampa. In peak season, you might be able to get snacks and drinks at the Llamacorral campsite, but I’d recommend stocking up on all the food you need in Huaraz or Caraz.
Amenities on the trek: None. There are toilets at the campsites, but no person I know would feel comfortable using them, which is why tour operators take toilet tents and anyone hiking the Santa Cruz Trek independently occasionally disappears behind some bushes. Take toilet paper and wet wipes and pack them back out.
How to avoid Acute Mountain Sickness (AMS): Acute Mountain Sickness occurs when you gain altitude too quickly and don’t acclimatize. Typical symptoms include headache, nausea, and shortness of breath. AMS can be fatal when your body isn’t given enough time to adjust to higher altitudes, so don’t take this lightly. If you experience symptoms of altitude sickness, descend to 2000m above sea level as soon as possible. We’ve hiked the Annapurna Circuit, crossing the Thorong La pass at 5416m and Mt Kilimanjaro (5895m) and never had issues with AMS, but we always took care to acclimatize properly and stay hydrated.
If you’re coming from near-sea level, you’ll need to stay in Caraz or Huaraz for several days to acclimatize before attempting the Santa Cruz Trek. Aim for at least 2 rest days with one acclimatization hike above 4000m, like the Laguna 69 Trek. Even if you’re rushed for time, please don’t skip this essential precaution to help prevent altitude sickness.
Further measures you can take to reduce your chance of getting AMS include walking slowly, adding an additional rest day on the trek, and drinking lots of water.
You can also take altitude sickness tablets, but only as an additional precaution, not in place of proper acclimatization.
day 1
From Vaqueria to a small campsite past Paria
The first day on the Santa Cruz Trek, from Vaqueria to a small campsite past Paria, was an easy walk with little elevation gain but incredible scenery that made for a great introduction to hiking in the Peruvian Andes. The most exhausting part really was the bumpy, winding colectivo ride from Yungay to the trailhead in Vaqueria, through Huascaran National Park and over Portachuelo de Llanganuco Pass at 4785m. If you’re prone to motion sickness, you may want to take medication that helps reduce symptoms. Also, it’s wise to wear a mask, not just for protection against Covid but the dust that is stirred up on the dirt road as well.
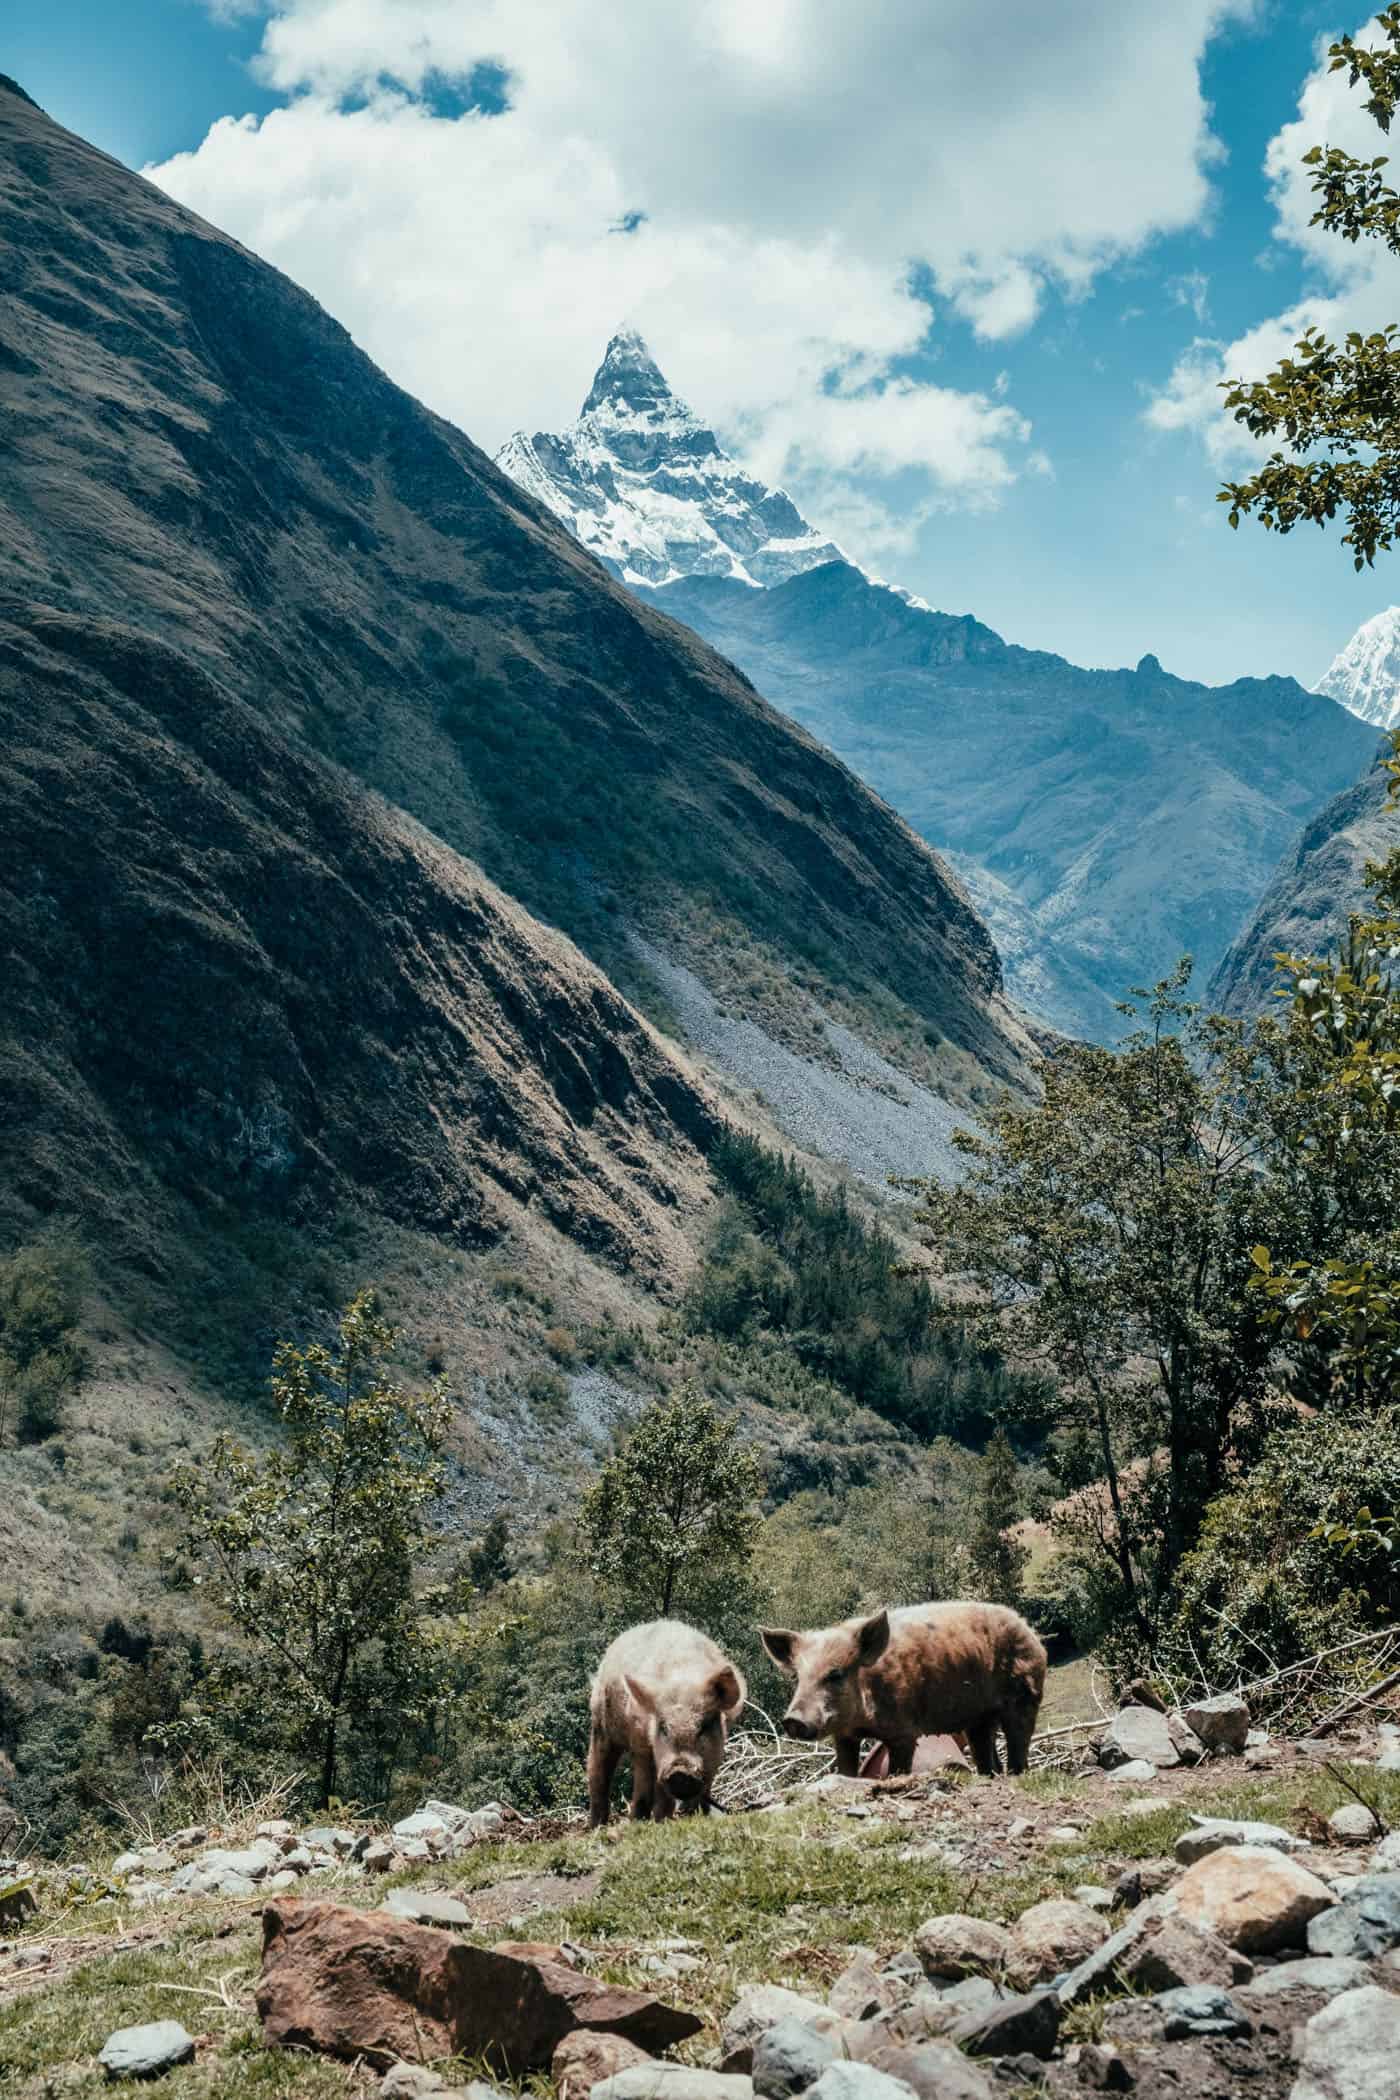
Once we had disembarked and registered our personal details with a park ranger who was waiting for us at the drop-off point, however, the trail immediately moved away from the main road and we found ourselves walking through remote mountain villages and fields clinging to the steep hillsides, where ploughs were still pulled by oxen. A slaughtered pig was hanging on a hook in someone’s backyard, and next door, a lady in traditional clothing was scrubbing a mountain of washing in an outdoor sink. Kids would smile and wave or pull funny faces when they spotted us. If you’re worried about the Santa Cruz Trek being overly popular, rest assured that it is decidedly untouristy, at least outside high season.
When we left behind the last couple of houses, we passed by the ranger station at Huaripampa. The little hut was deserted but marked the transition from pastures and hills to the national park with its snow-capped mountain scenery. Continuing further up the Huaripampa Valley through native Queñual forest, its trees stunted and twisted, many more spectacular white peaks started revealing themselves as the trail wound along the river to the first official campsite, Paria at 3890m. It’s a beautiful spot with sweeping views of the mountains, but if you’re hiking independently, you’ll probably want to keep going as Paria is usually busy with guided tours spending their first or last night on the trek there.
After Paria, the trail gradually became steeper and rockier but revealed a landscape ever more beautiful. At a trail junction, we turned left, following the trail up tight switchbacks and soon arrived high on a rocky plateau with magnificent views into the valley to the backdrop of the snow-clad peaks. We would have loved to spend the night in this spot, but couldn’t find water anywhere. If it’s still early in the day when you arrive there, you may just as well enjoy the view for a couple of hours – it’s one of the most scenic spots along the entire trail, and a lovely camping spot with access to a stream is waiting just a little bit further up the track.
track details.
Distance: 13.75km
Time: 5 hours
Elevation gain: 864m / loss: 293m (lowest point: 3415m / highest point: 4252m )
Difficulty: easy



Santa Cruz Trek map - day 1
day 2
To a campsite between Laguna Jatuncocha and Laguna Ichiccocha
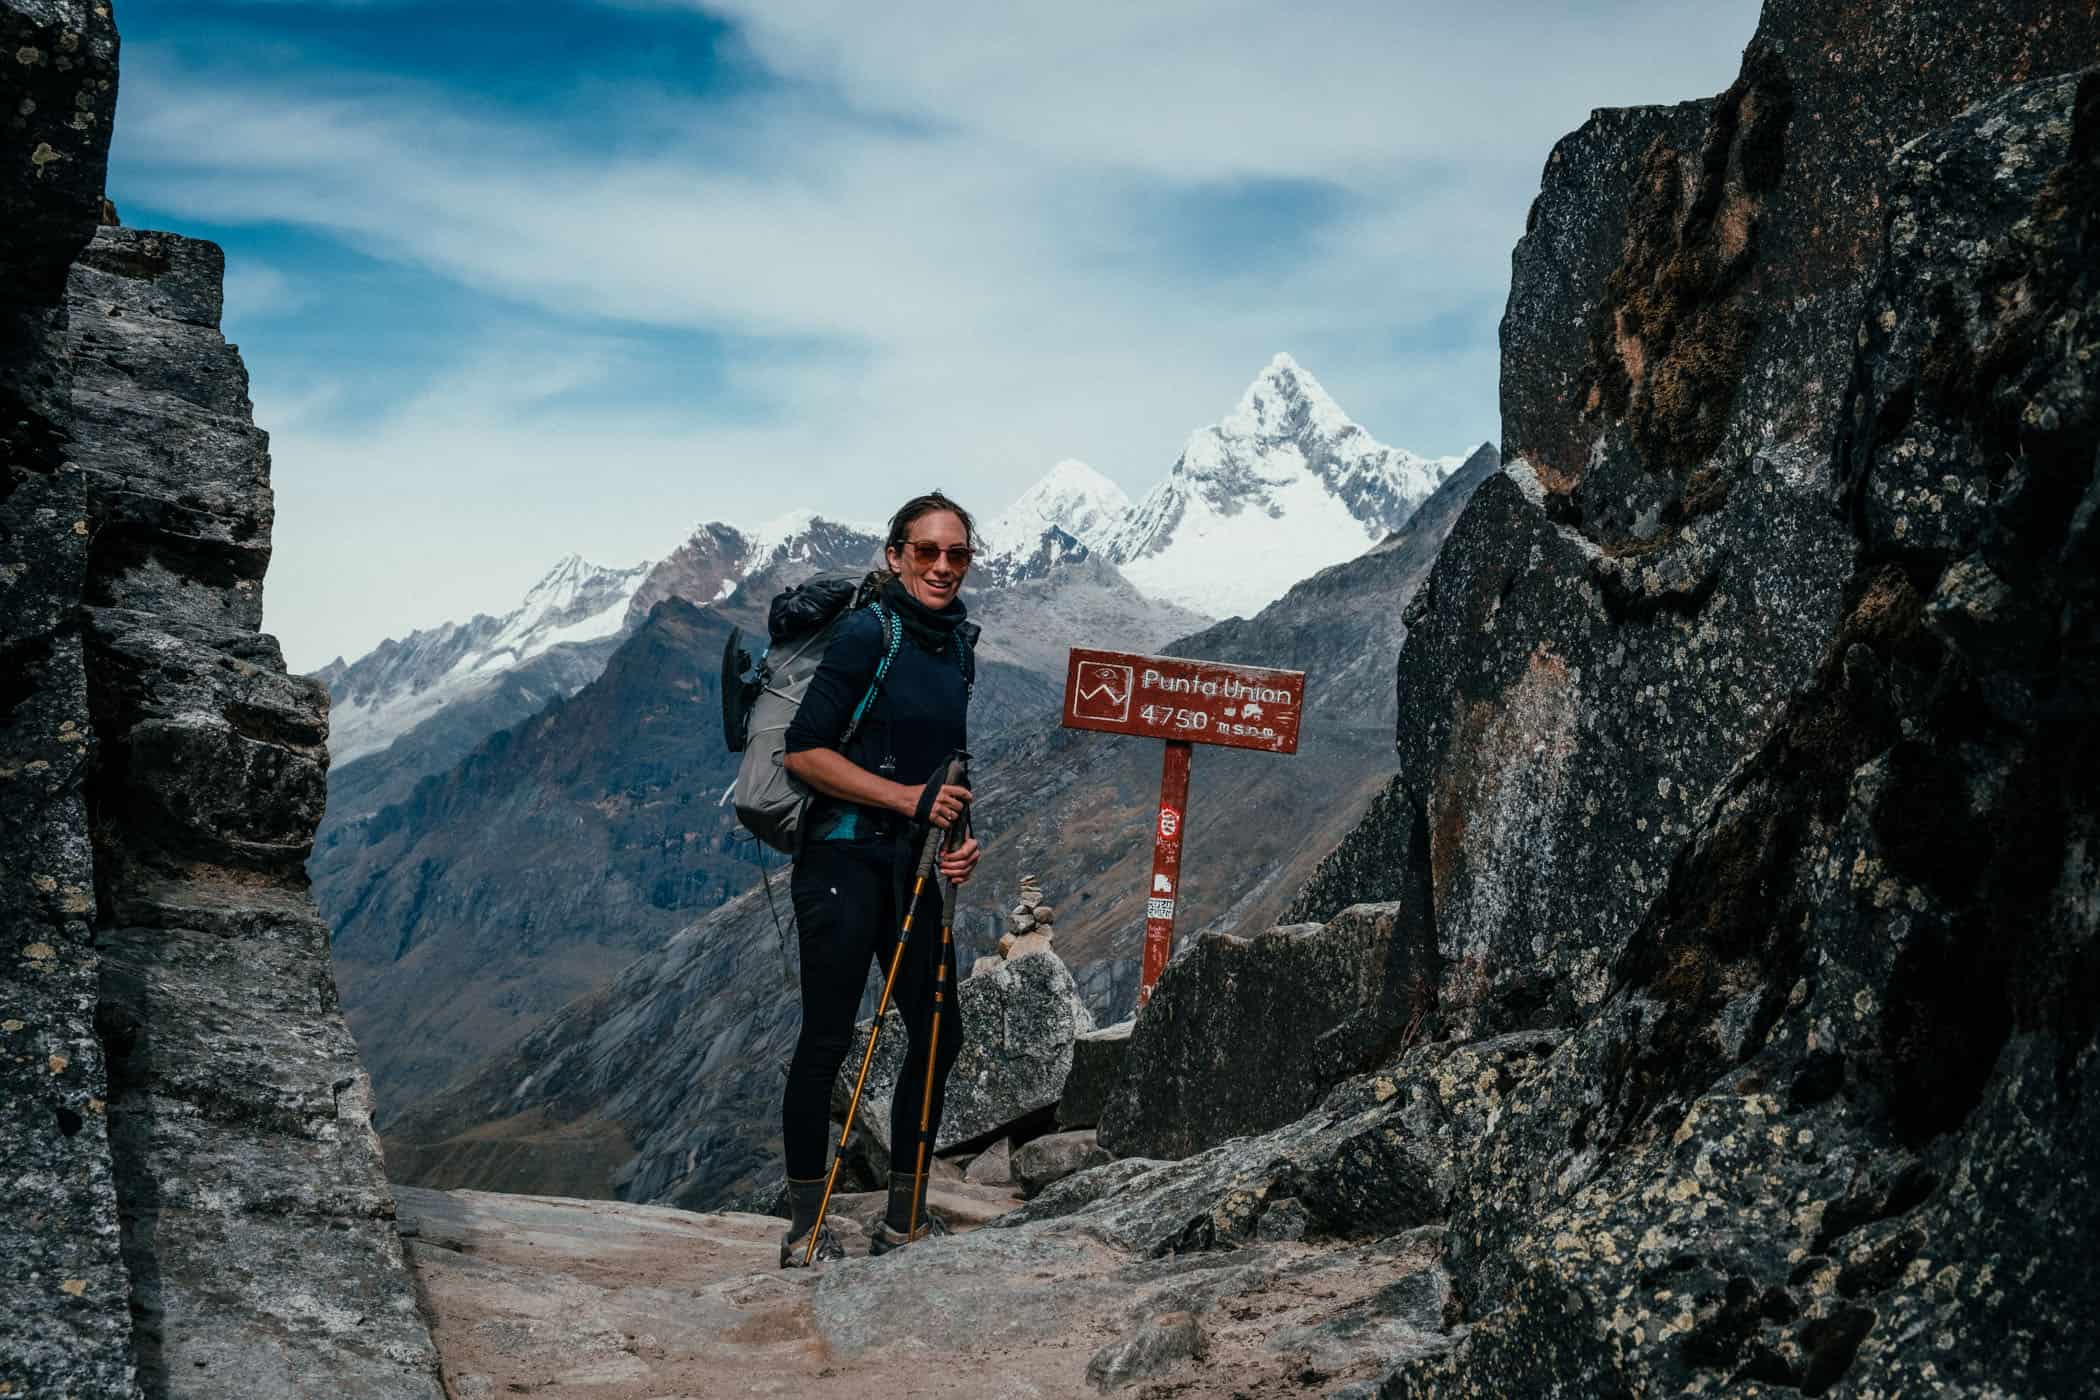
On day 2, you’ll be aiming for an early start, because it’s not an easy climb to the highest point on this trek, Punta Union Pass at 4760m, and altogether a long day – 23 kilometres with 835m elevation gain and 1245m elevation loss – if you add the side trip to Laguna Arhuaycocha and want to make some headway into Santa Cruz Valley.
There are, however, several campsites along the way that make for a shorter hike on day 2 – Taullipampa, for instance – but obviously, your last day will then be longer than it was for us.
You should also come prepared for some seriously cold temperatures, dipping (well) below freezing point during the night. I knew it would be cold but was still surprised to wake up to frozen grass and backpacks.
When, at last, the sun rose above the dark mountain silhouette, we set off, still early, and followed the trail as it gained elevation gradually, passing by some small lakes that glinted in the sunlight. The mountain panorama was just as beautiful as the day before, and the going was still easy when the gradient suddenly became much steeper and the track started zigzagging up rugged alpine terrain towards the pass. It wasn’t a technical ascent but made more difficult than a similar climb would be at sea level by the thin air.
When we finally gained the pass, however, we both agreed that the views from Punta Union of Laguna Taullicocha nestled at the foot of massive snow-packed mountains and far into the Santa Cruz Valley had been well worth the effort. And the hardest part was over!
Also, if you decide to skip the side trip to Laguna Arhuaycocha, from Punta Union all the way to Cashapampa will be easy downhill walking. But then, you’d miss out on one of the highlights of this hike. While I realize not everyone may be keen on a 3-hour/10.6km detour with elevation gain (from the turnoff near Taullipampa campsite, via Mirador Alpamayo and Alpamayo Base Camp, to where you’ll rejoin the Santa Cruz Trek further down the valley), Laguna Arhuaycocha really is worth the extra effort.
Snuggled at the foot of a semicircle of impressive peaks, the turquoise blue colour of the lake, turned milky by glacial flour, stood out against the rough grey rock walls like a gemstone in a pile of rubble. At the far end, a glacier reached right down to the water’s edge, feeding into the laguna; and at noon, every once in a while, a piece of the ice broke off, triggering a small avalanche that cascaded into the lake with a thundering roar.
If you’re hiking to the laguna, keep an eye on your GPS as you approach Taullipampa campsite and a large wasteland area, where it seemed a landslide went down not long ago. The turnoff to the laguna, a narrow path forking off to your right behind a rock overhang, is easy to miss. At the next trail junction, turn right again, towards Alpamayo. When you return from the laguna, keep right again at this junction, following a series of switchbacks down the mountainside into the wasteland area.
Depending on how late in the day you’re back at Taullipampa, you might want to set up camp there or continue down the valley.
We walked on, trying to find a spot sheltered from the strong gusts racing across the barren valley floor that carried so much dust and sand I had trouble keeping my eyes open. Not only could we not find a suitable campsite, but it was also impossible to escape the relentless gusts peppered with grains of sand even when we kept to the left of the valley as best we could. In fact, we were still trying to hide from the wind when it started getting dark, and we set up camp for the night behind some bushes in a spot by the river between Laguna Jatuncocha and Laguna Ichiccocha. Only well after the sun went down, did the ferocious, icy blast finally die down as well.
track details.
Distance: 22.7km
Time: 9 hours
Elevation gain: 835m / loss: 1245m (lowest point: 3855m / highest point: 4760m )
Difficulty: moderate – difficult




Santa Cruz Trek map - day 2
day 3
To Cashapampa
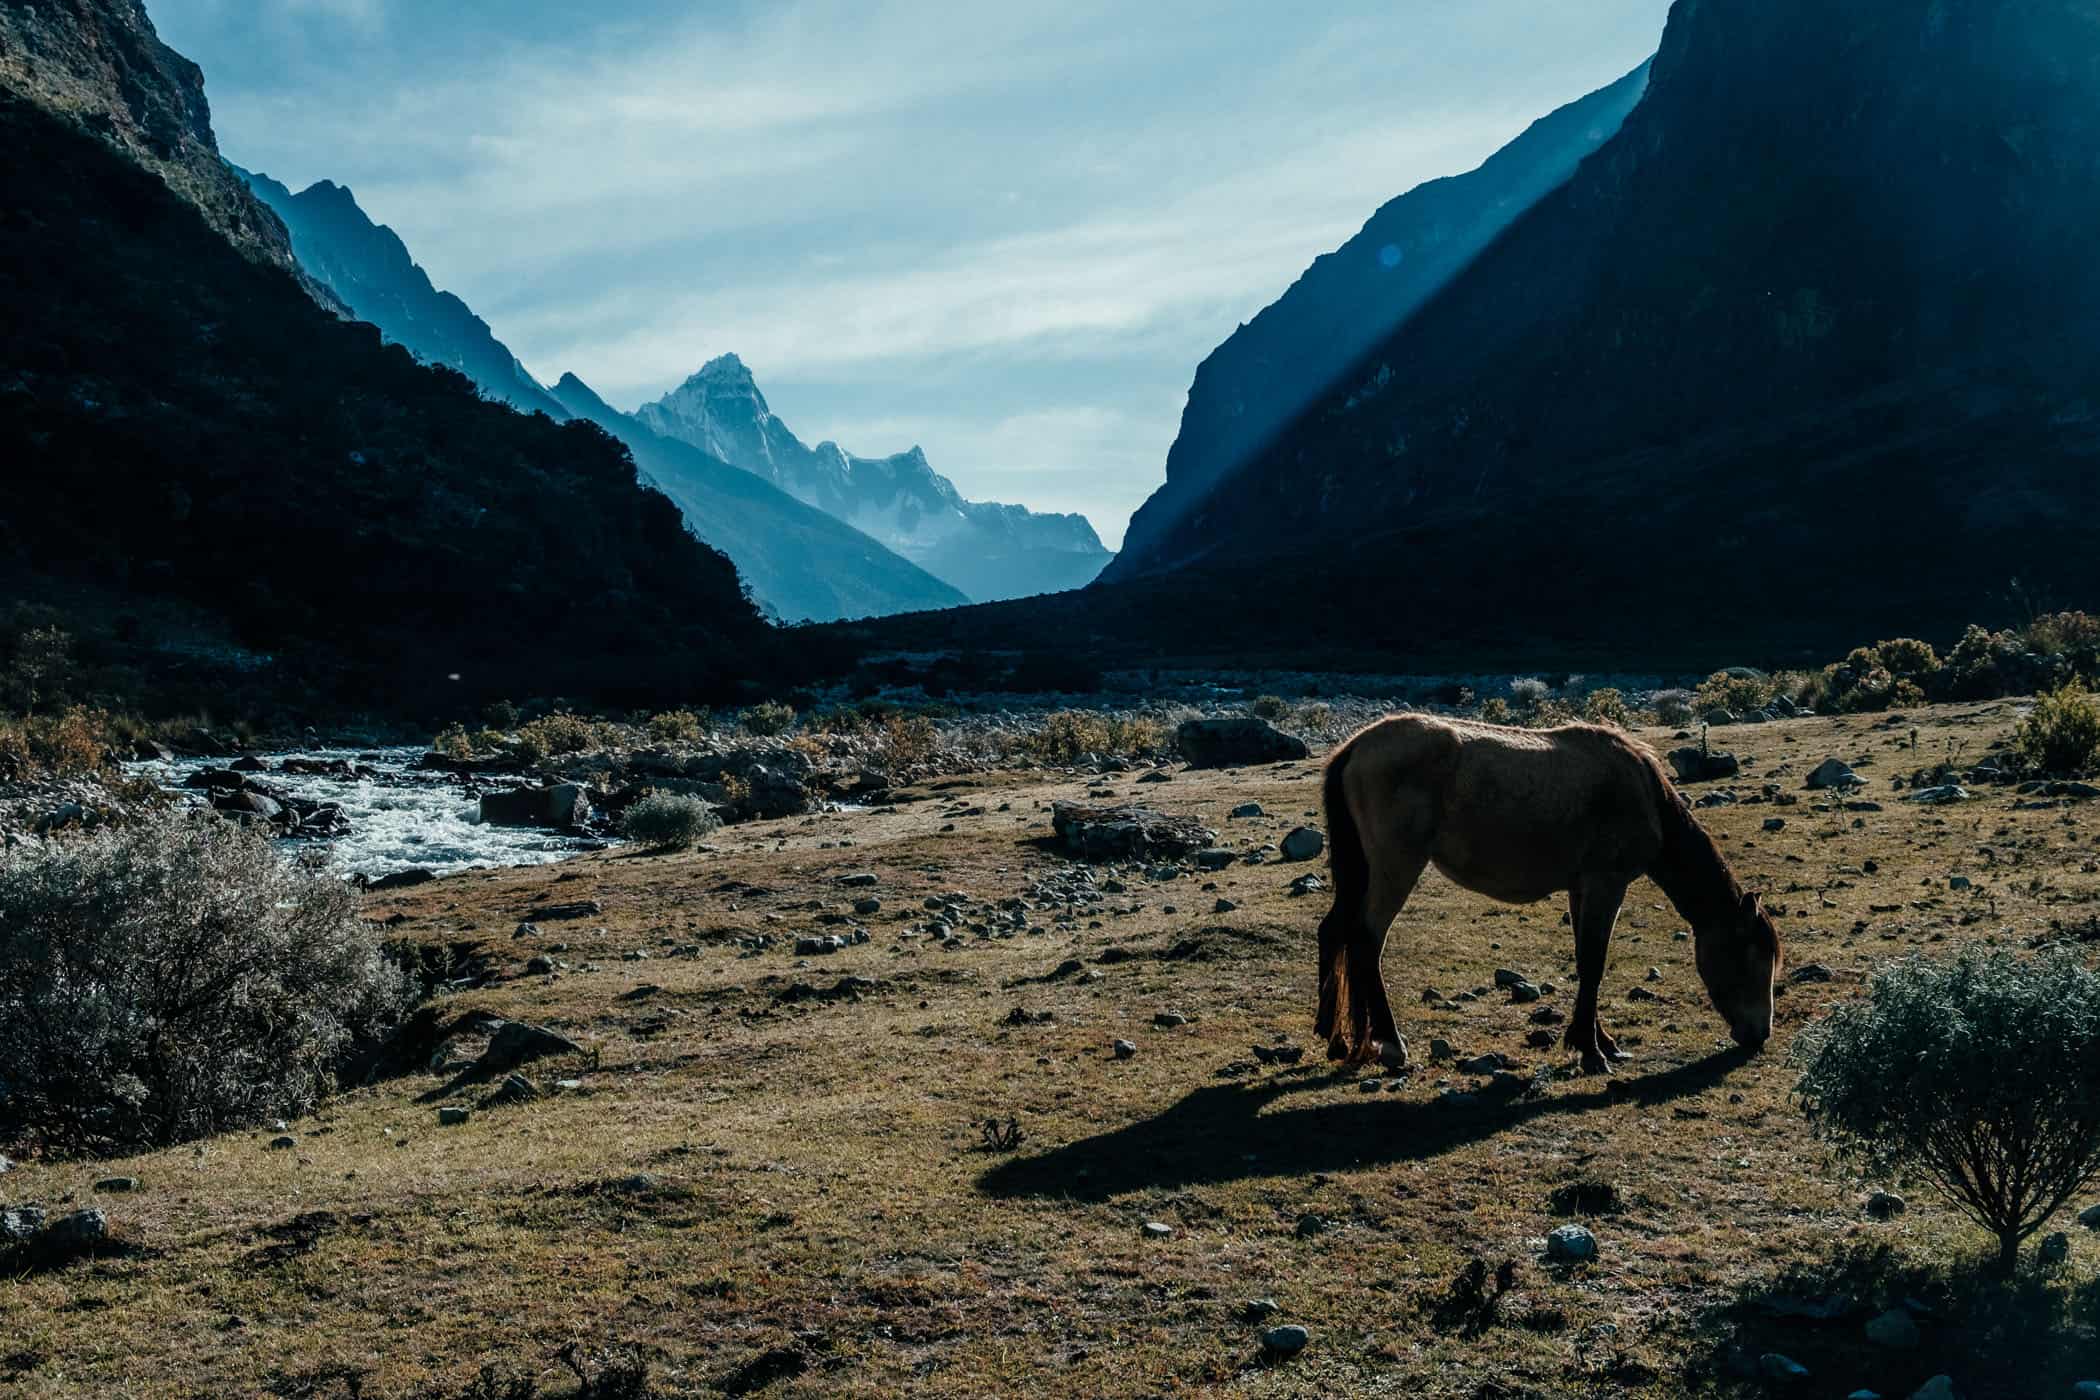
We only had 13 kilometres of easy downhill walking to Cashapampa ahead of us on our last day, but still set off very early in the morning, which was just as freezing cold as the last. With numb fingers, we brushed off the sheets of ice covering our tent and backpacks, and we walked for an hour or more until the sun finally touched the valley floor. The trail runs alongside the river the whole way, through meadows with wild horses and large boulders to sit on and soak up the mountain scenery one last time. It was the perfect place to stop for breakfast before the trek rapidly wound down towards Cashapampa at 2900m.
The descent to Cashapampa is easy, but there were some slippery downhill sections on loose gravel and sand of which I’m not a great fan, and I would use my hiking poles occasionally. Take yours if you think you may need them.
After 4 hours of hiking with a long break for breakfast, we passed by another vacated checkpoint, marking the boundary of Huascaran National Park before the trail met a road on the outskirts of Cashapampa. Stay right there, because this is where the colectivos will pass by and wait for one heading left. Usually, colectivos will only leave when they’re full, so you may end up waiting quite some time. If you’re willing to pay double the price, however, you might be able to negotiate private transport as we did.
We arrived in Cashapampa at 11 am and were back in Caraz an hour later. Even if that seems very early to you and you think you might want to take more time on the trail, aim to be in Cashapampa by 3 pm, at the very latest, as there may be no more colectivos running later in the day.
track details.
Distance: 13.2km
Time: 4 hours
Elevation gain: 35m / loss: 960m (lowest point: 2930m / highest point: 3860m )
Difficulty: easy
