Hike | Arequipa | Peru
3-day Colca Canyon Trek Hiking Guide (self-guided)
Text | Anninka Kraus
Photography | Tobias Kraus

Peru Arequipa
One of our favourite memories of Peru is the three-day/two-night hike into the Colca Canyon – Cañon de Colca in Spanish – one of the world’s deepest canyons. Located 220km northwest of Arequipa, the Colca Canyon is easily accessible (it’s still a long drive from Arequipa) and equally suitable for self-guided hikers and those preferring a guided or group hike experience.
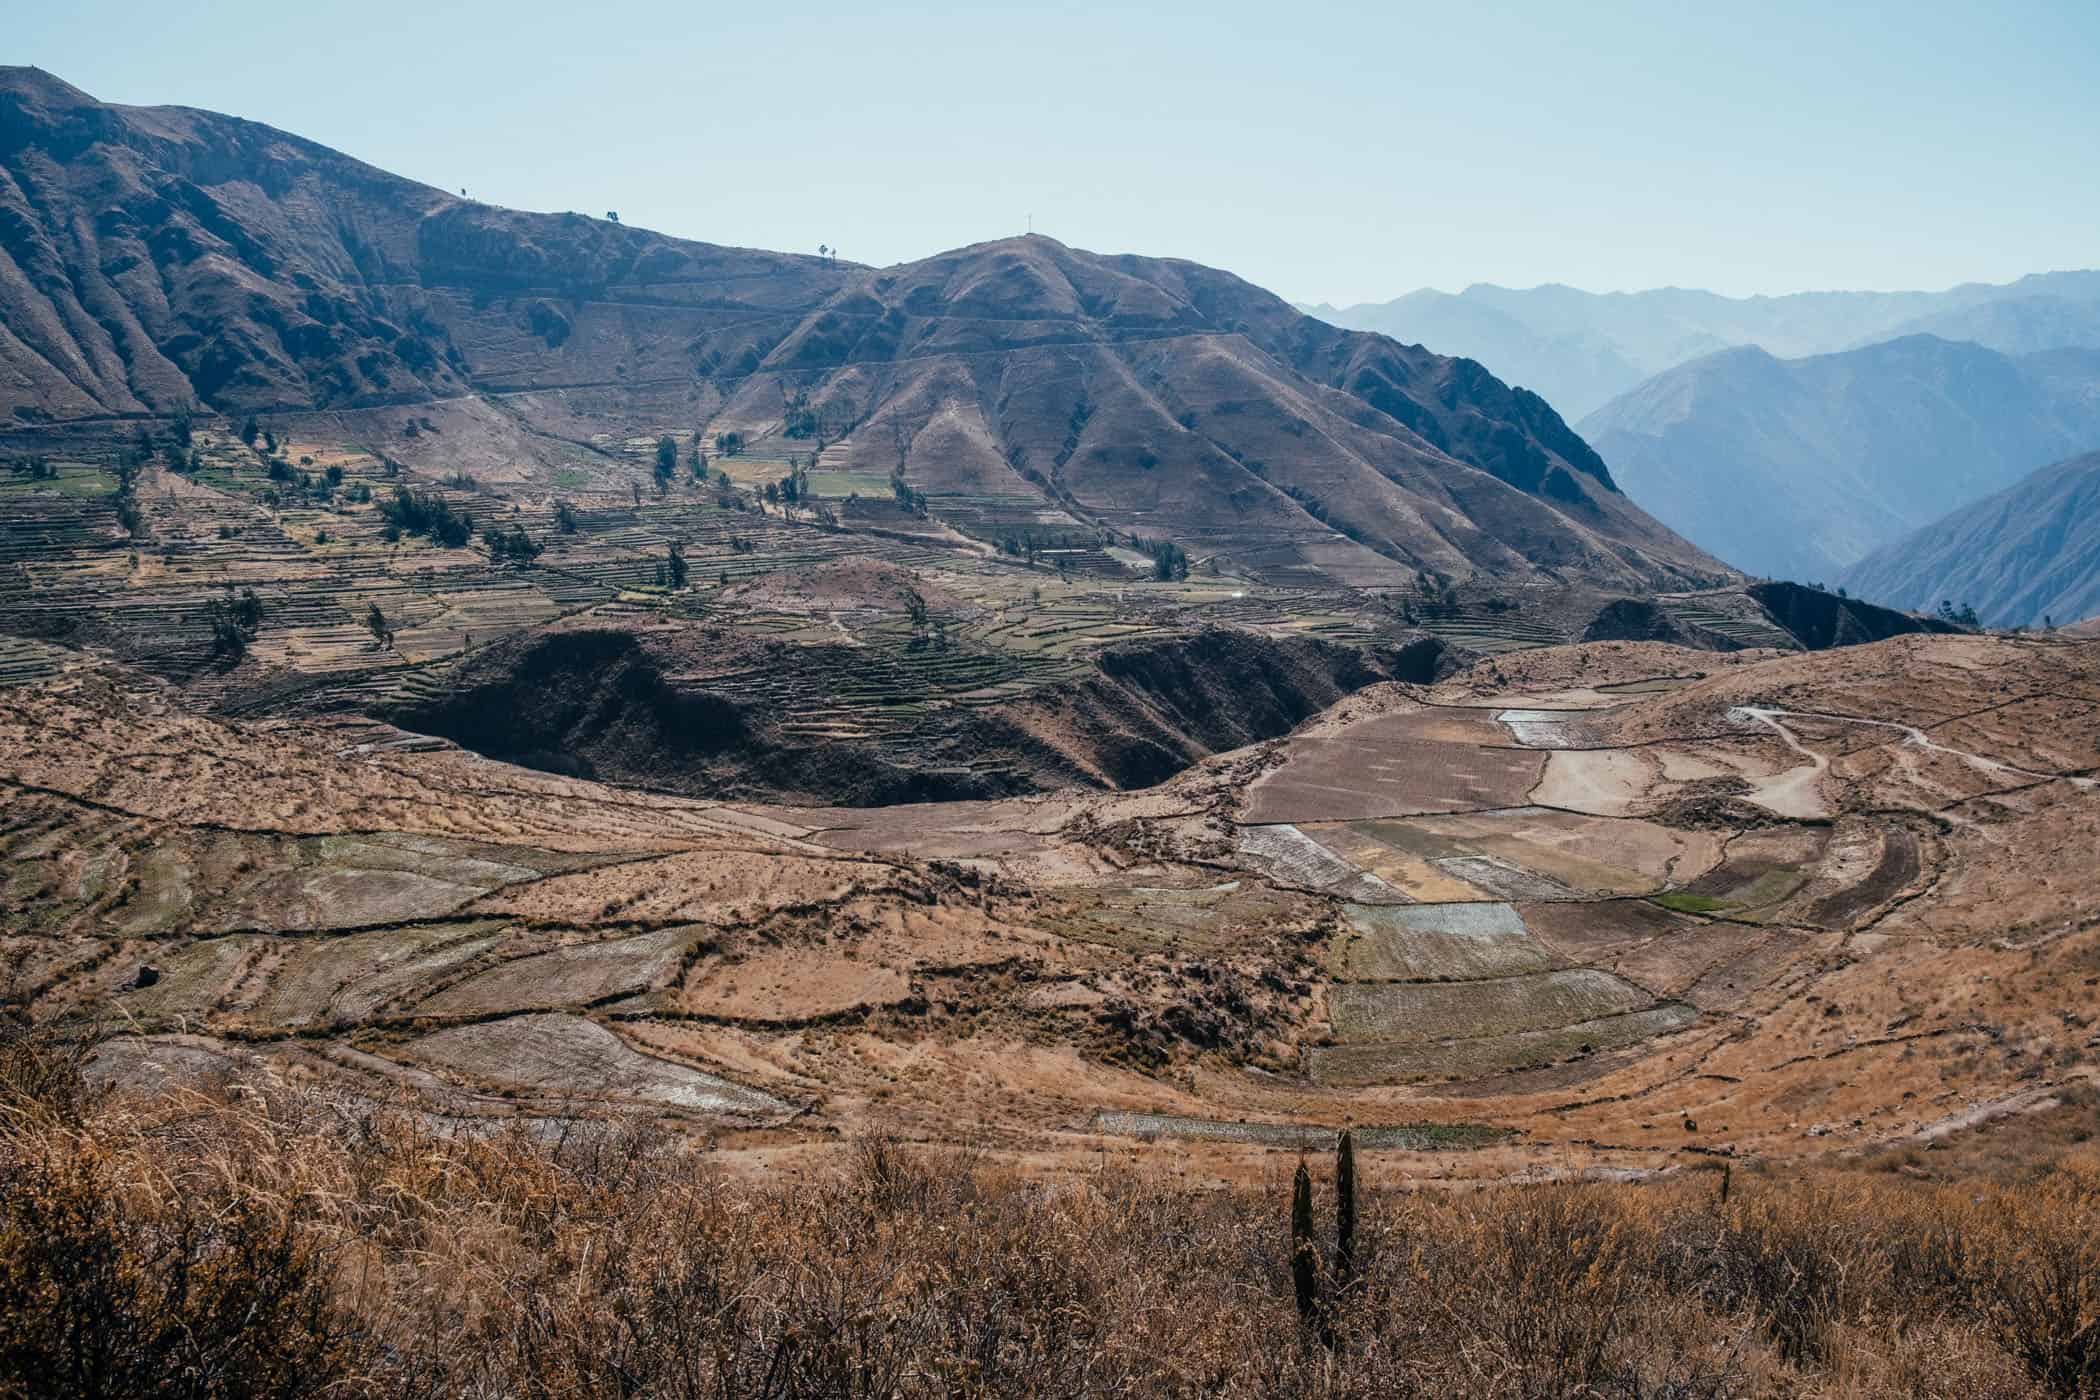
After hiking in the famous Grand Canyon in Arizona just a few months earlier, we weren’t sure whether the much deeper Colca Canyon would measure up in terms of scenery. But it sure does. Like the Grand Canyon, the Colca Canyon is stunningly beautiful, albeit in a slightly different way. Both canyons are arid, but the Colca Canyon seems less so, almost lush by comparison really, as locals still cultivate the stepped terraces, growing corn and avocado.
And whereas the Grand Canyon seems to be this desolate, uninhabited wilderness (there’s only one remaining tribal village in Grand Canyon National Park, inhabited by the Havasupai people), the Colca Canyon is home to several communities allowing hikers an insight into rural Peruvian everyday life.
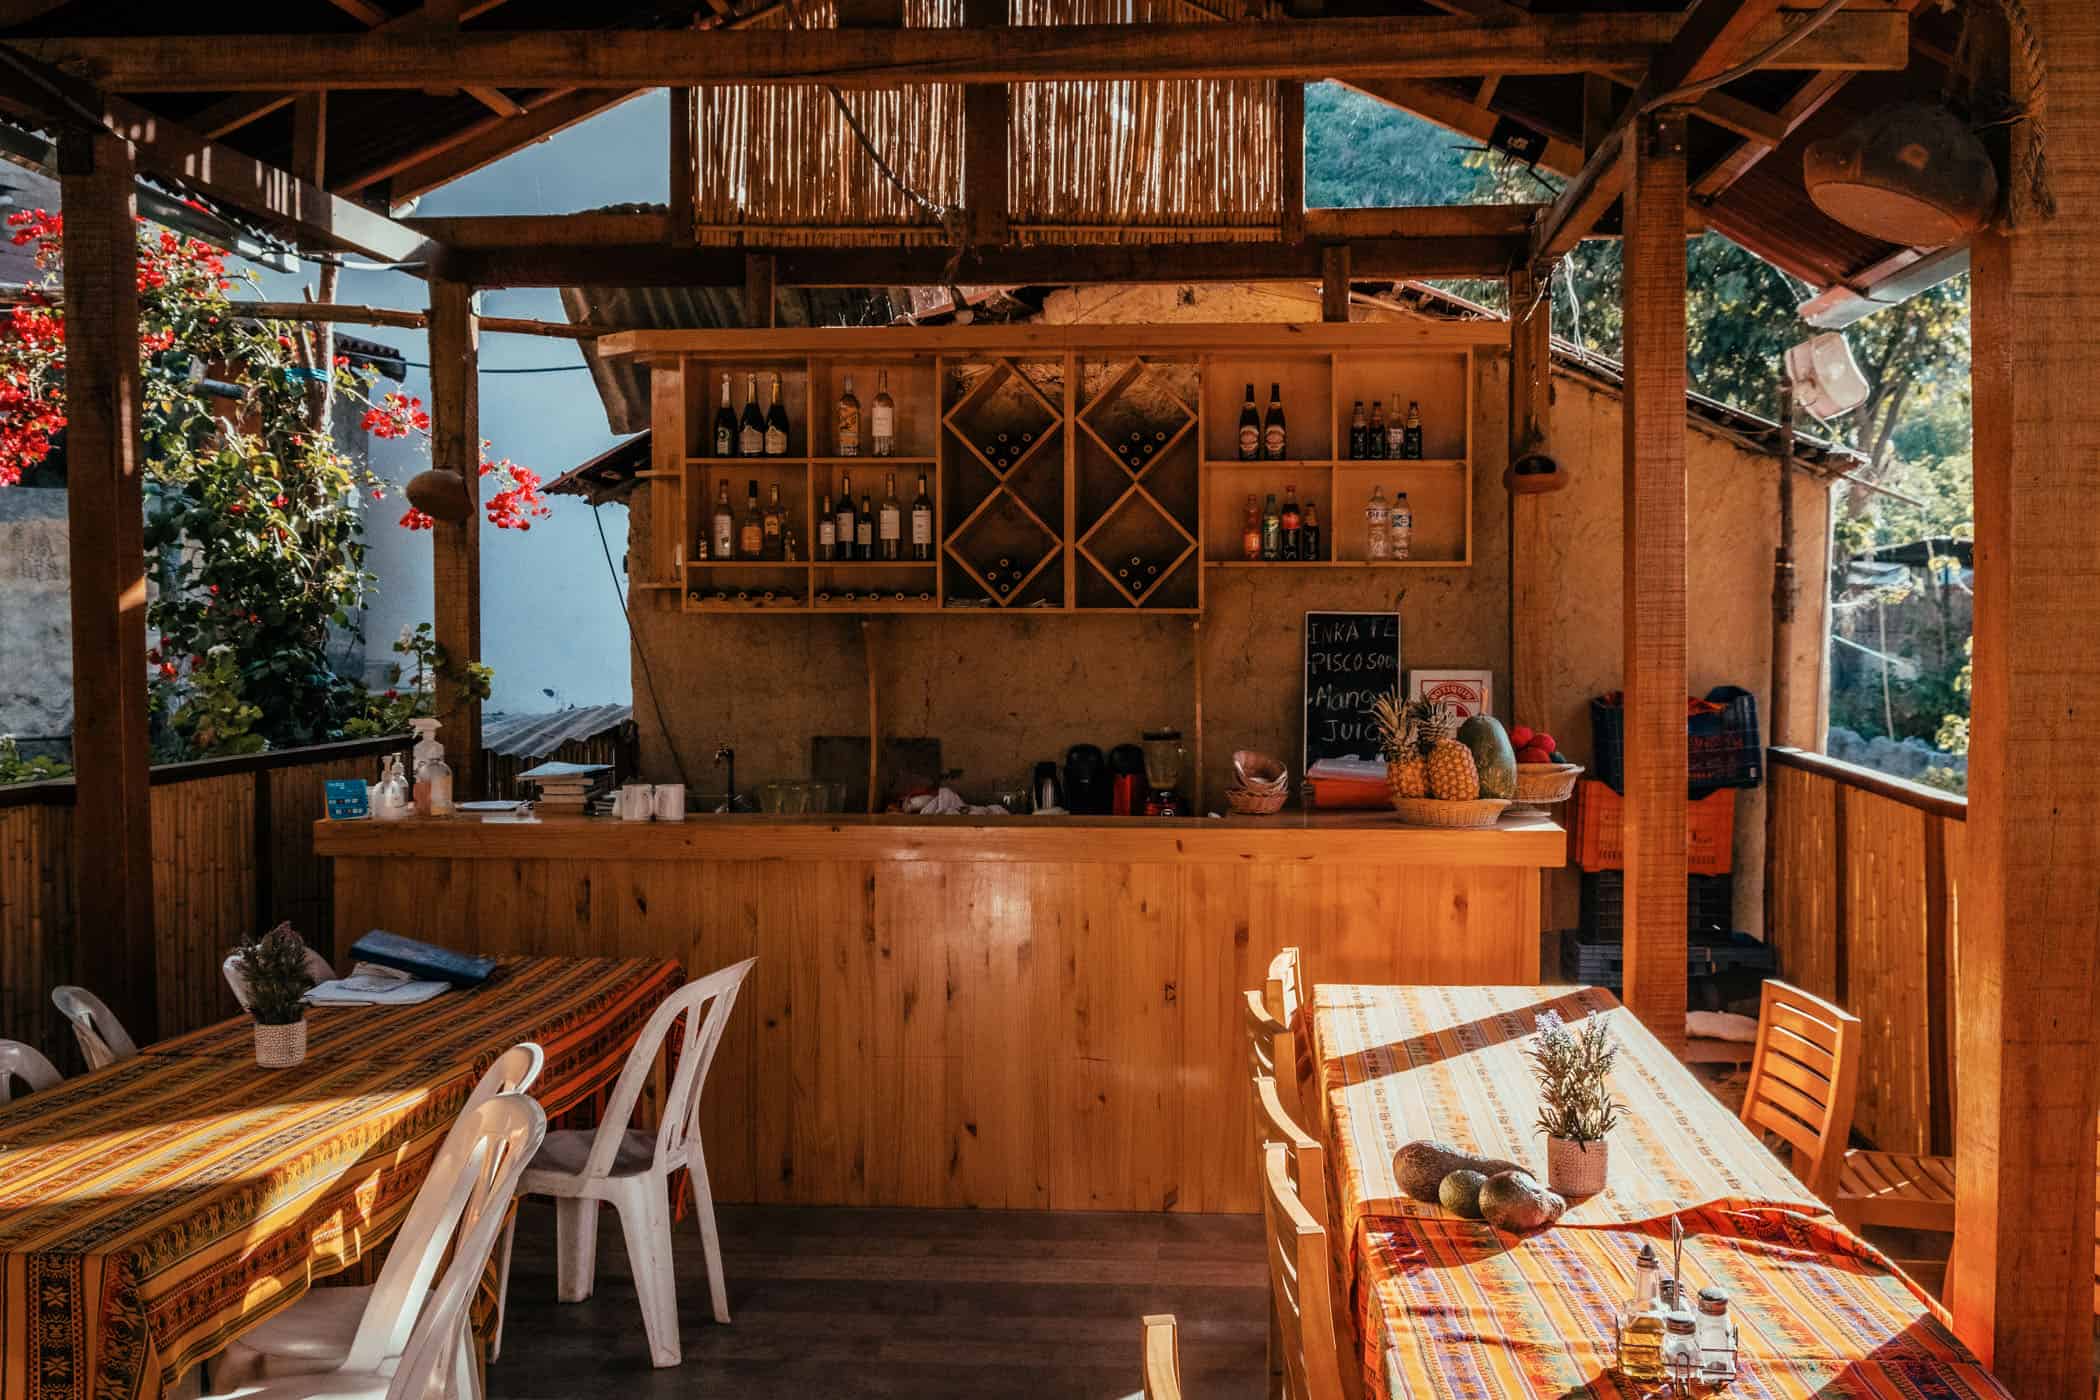
Hiking in the Colca Canyon is also a different experience from hiking in the Grand Canyon and much more comfortable. Instead of very basic campsites, the Colca Canyon boasts lovely guest houses with hot showers, beautiful home-cooked meals, and thermal baths.
Both canyons did have one thing in common, however, and that was the lack of wildlife. Maybe we were just unlucky because there were actually plenty of alpacas roaming the high plains on the drive to Cabanaconde. But once we started hiking, the only wildlife we saw over the three days was a couple of small birds.
If you‘re lucky, though, you might see Andean condors soaring above the canyon. We didn’t, but plenty of people join day tours from Arequipa to two lookout points on the rim of the canyon specifically to see condors.
Contrary to some online accounts we’ve read, we believe hiking the Colca Canyon is pretty straightforward and easily doable self-guided for experienced hikers (if you download gpx files for offline use). You could almost get away with carrying a small day pack actually. Of course, this being a canyon with a 1600m elevation difference between the rim and the canyon floor on day 1, you obviously need to pack some warm clothes. But with comfortable accommodation options available in several places, you’ll hardly need to pack anything else at all. You’ll also frequently pass through small communities as you walk through the canyon along the Rio Colca, with plenty of opportunities to stock up on snacks and drinks.
The only aspect of this hike that might require a little thought and planning is choosing the transport options between Arequipa and Cabanaconde that best fit your needs (see “Where and getting there” in trail details). And don’t forget to download the gpx files of this trek for offline use. There are few trail markers, if any, and navigating the opening stretch, in particular, wasn’t easy, with parts of the trek destroyed by a fire, it appeared.
There are several routes into the canyon, but if you follow this 3-day/2-night circuit itinerary, starting from and finishing in Cabanaconde, you’ll be spending your first night in Llahuar and the second in San Juan de Chuccho. It’s the longest loop you can hike in the canyon, with a total trail distance of 30km. That might not seem like a lot, stretched across 3 days, but there’s a 1000m elevation gain to tackle as well.
Also, with the Colca Canyon located 220km from Arequipa, you need to allow for a 4-6 hour journey to and from the canyon on days 1 and 3 – unless, of course, you stay in Cabanaconde before and after your hike, which I wouldn’t recommend because the scenery inside the canyon is far more special. Gazing up at the sheer rock walls as daylight faded, the light grew softer, and the shadows longer was incredible.
trail info.
Start/End: Cabanaconde (you’ll most likely arrive from and return to Arequipa)
Route:
Day 1 Cabanaconde – Llahuar
Day 2 Llahuar – San Juan de Chuccho
Day 3 San Juan de Chuccho – Cabanaconde
Distance: 30km total trail distance
Time: 3 days (total hiking time incl. small breaks: 10 hours)
Difficulty: moderate; but exposed to the weather and steep altitude gain on day 3, from 2395m at the bottom of the canyon to the rim at 3430m. If you hike often, you won’t find this difficult, but someone who doesn’t might struggle with the steep 1000m elevation gain.
Options: in addition to this 3-day/2-night Colca Canyon itinerary, there are plenty of other shorter hikes into the canyon.
Permits: To hike in the canyon, you apparently need to purchase a 7-day entrance permit for S/.70. We asked at several places in Cabanaconde, but couldn’t find anyone to sell us a permit. Maybe this was because we hiked in low season, I’m not really sure, but we didn’t pass a ranger’s station anywhere either.
related.
1. Laguna 69
Out & back trail | 5-6 hours
Point-to-point trail | 3 days
Point-to-point trail | 4 days
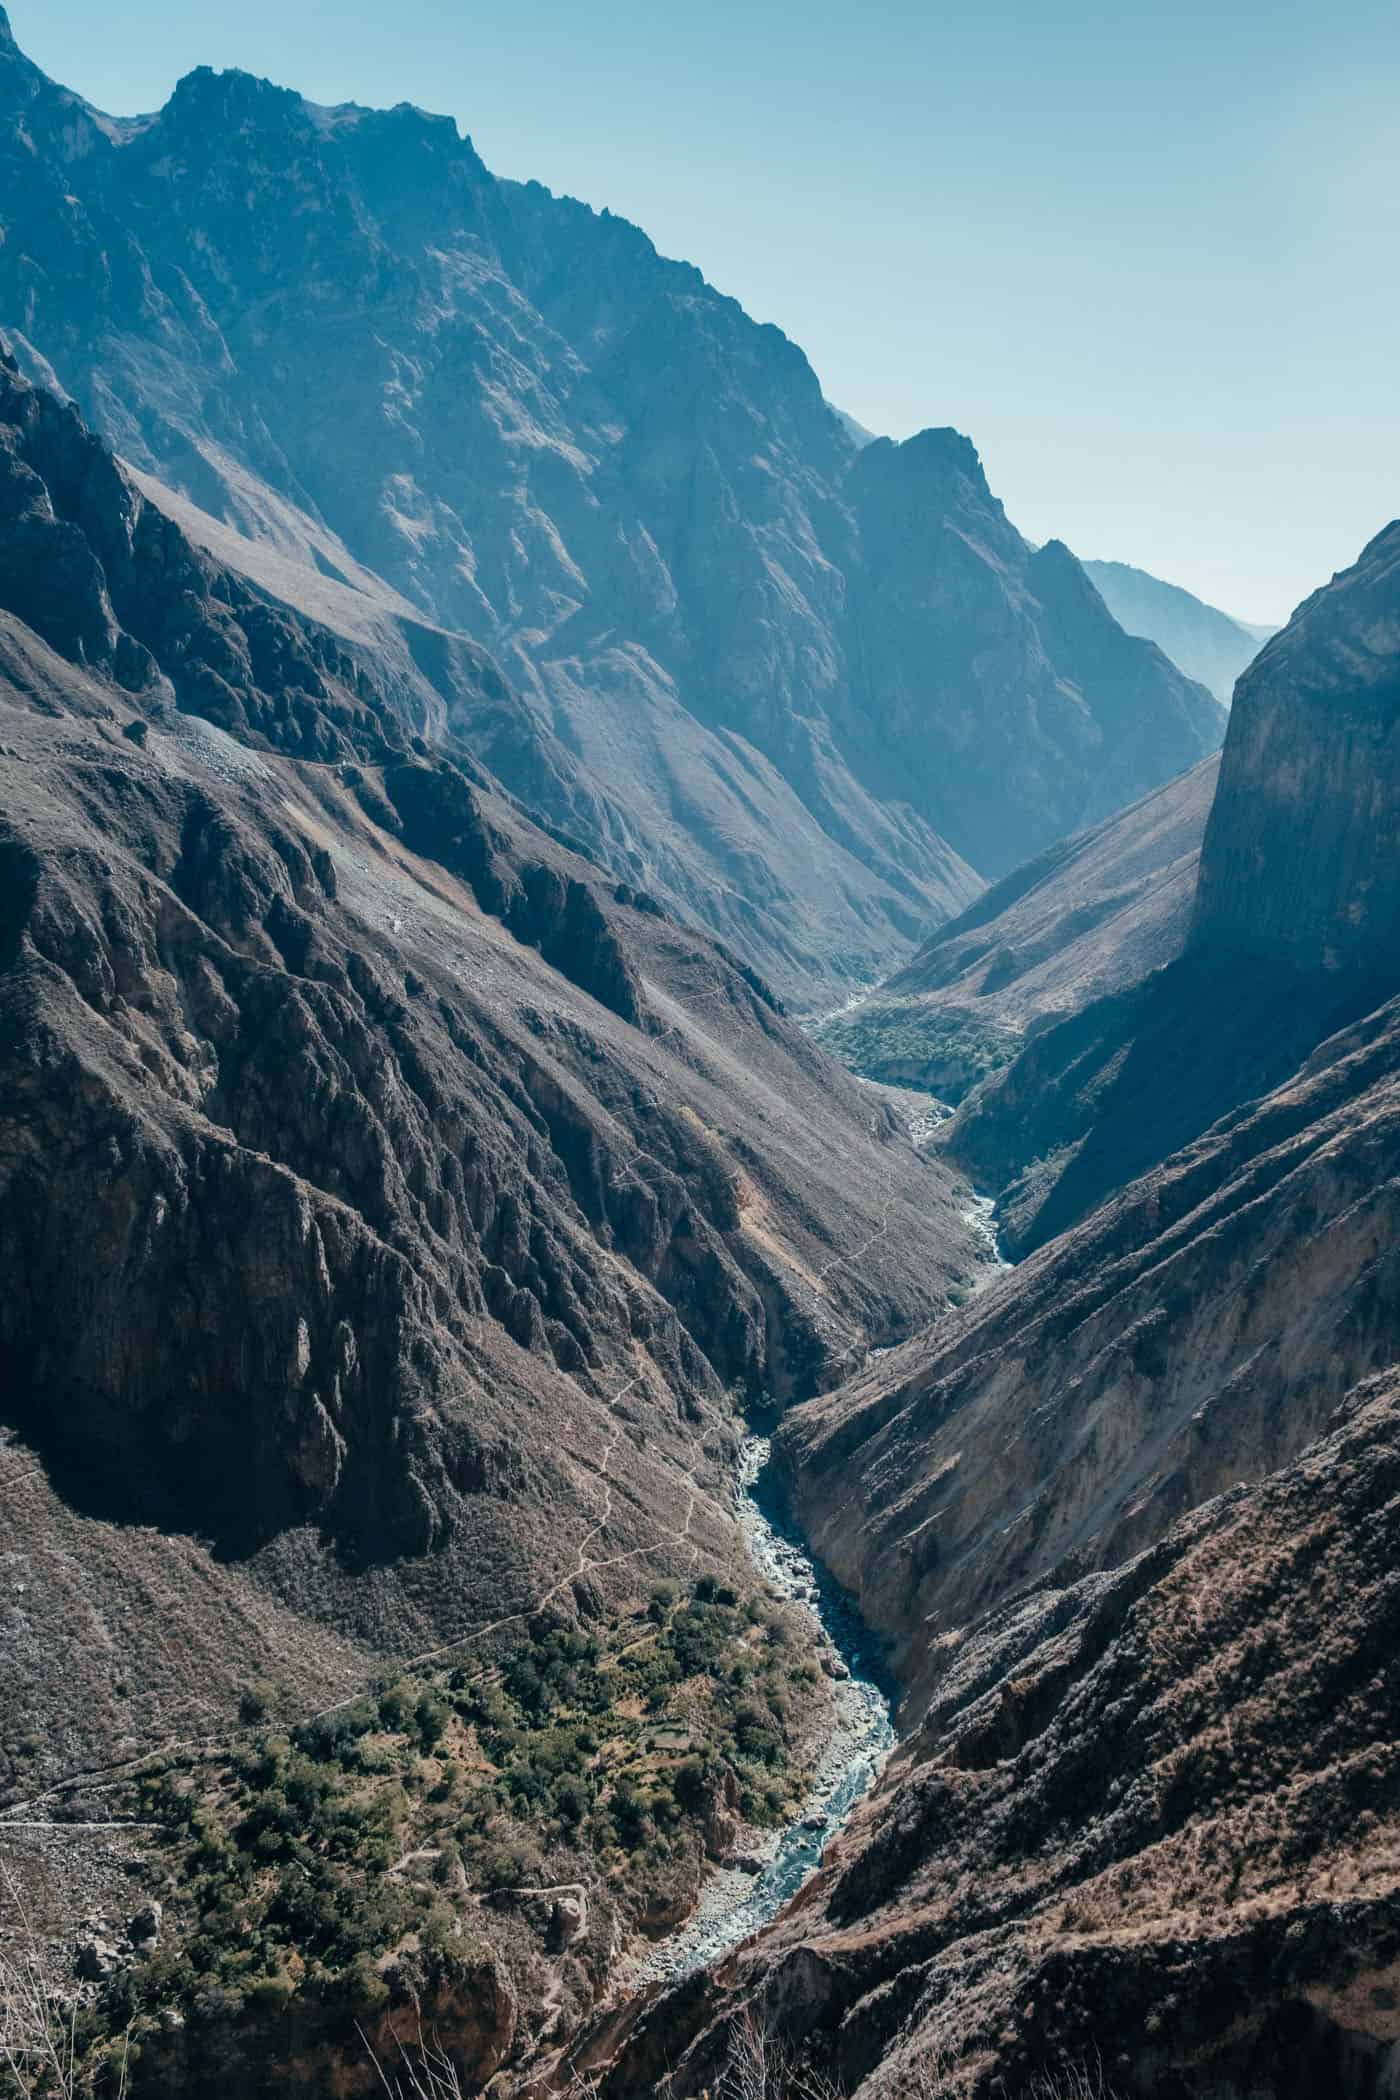
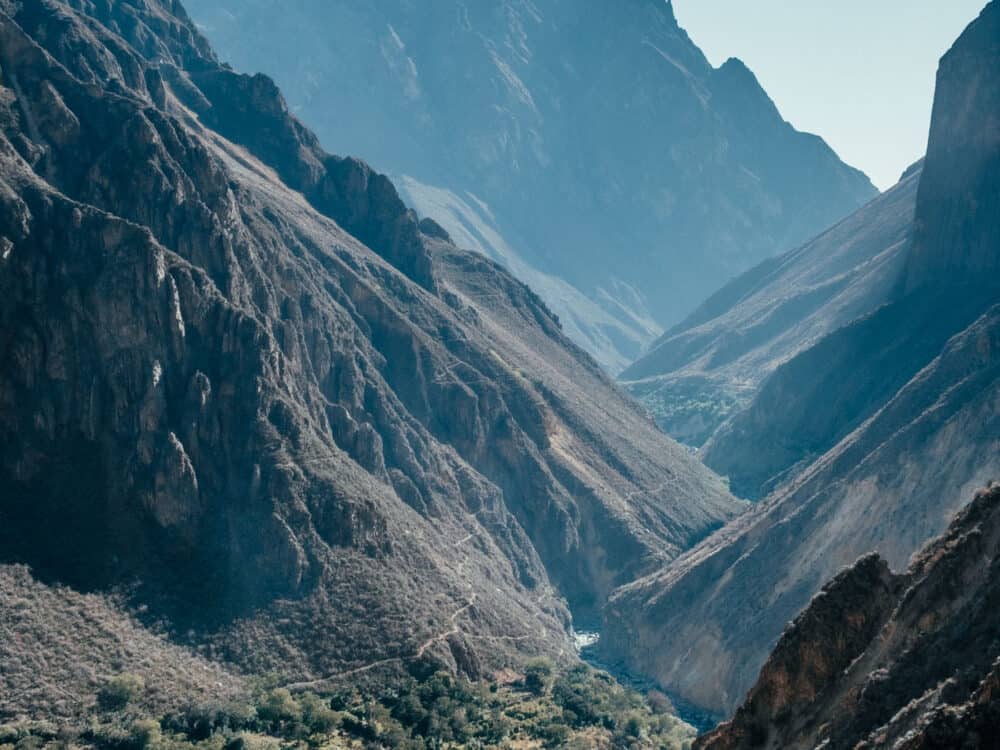


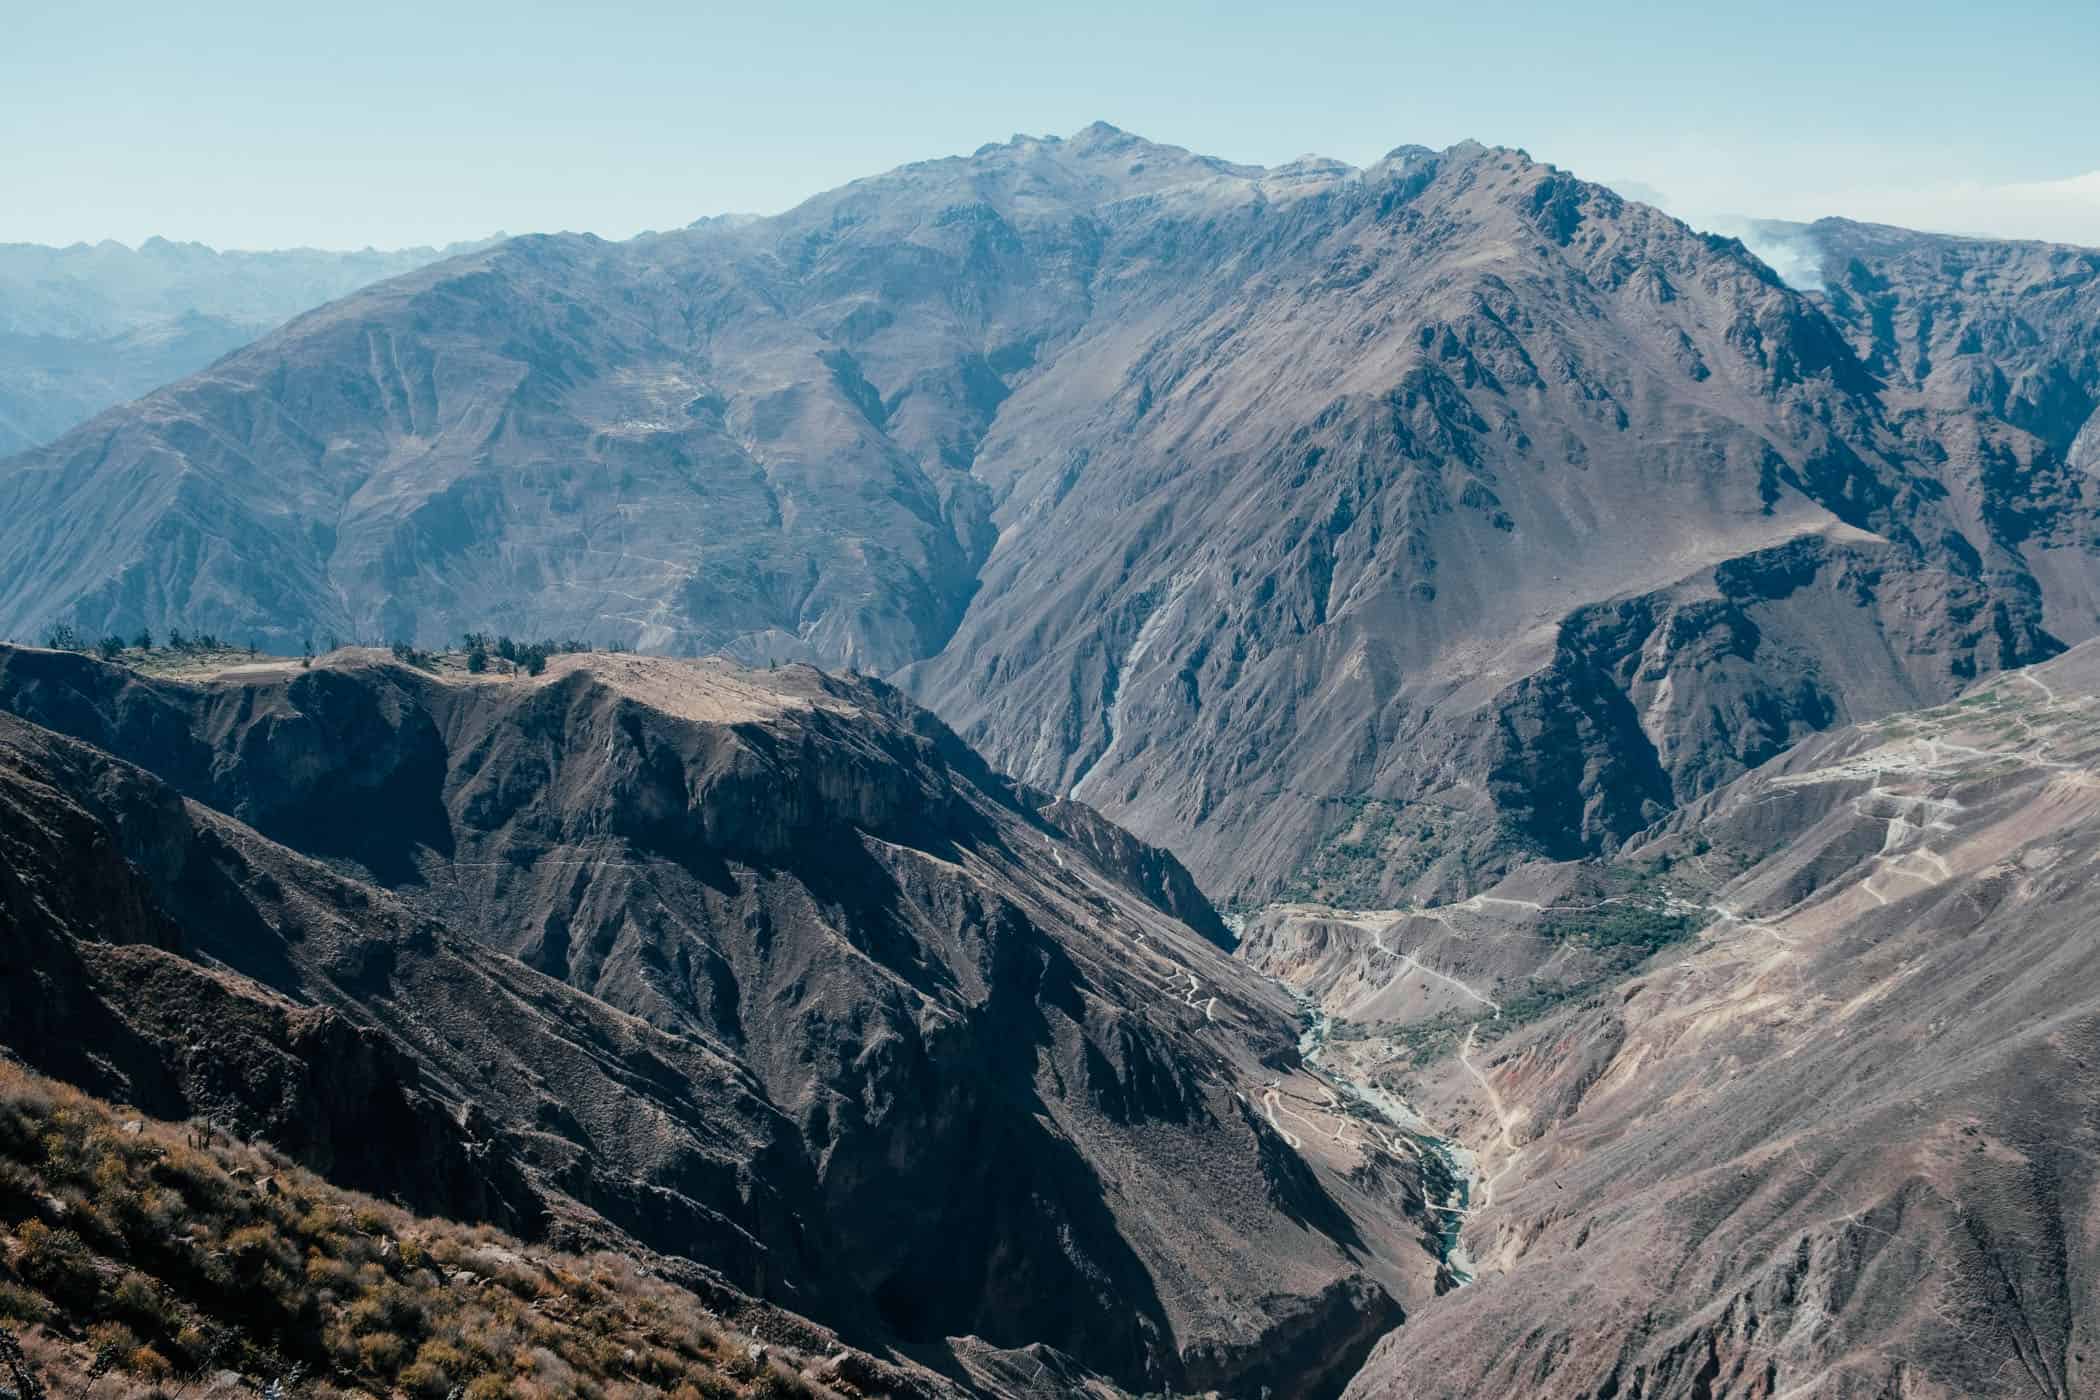
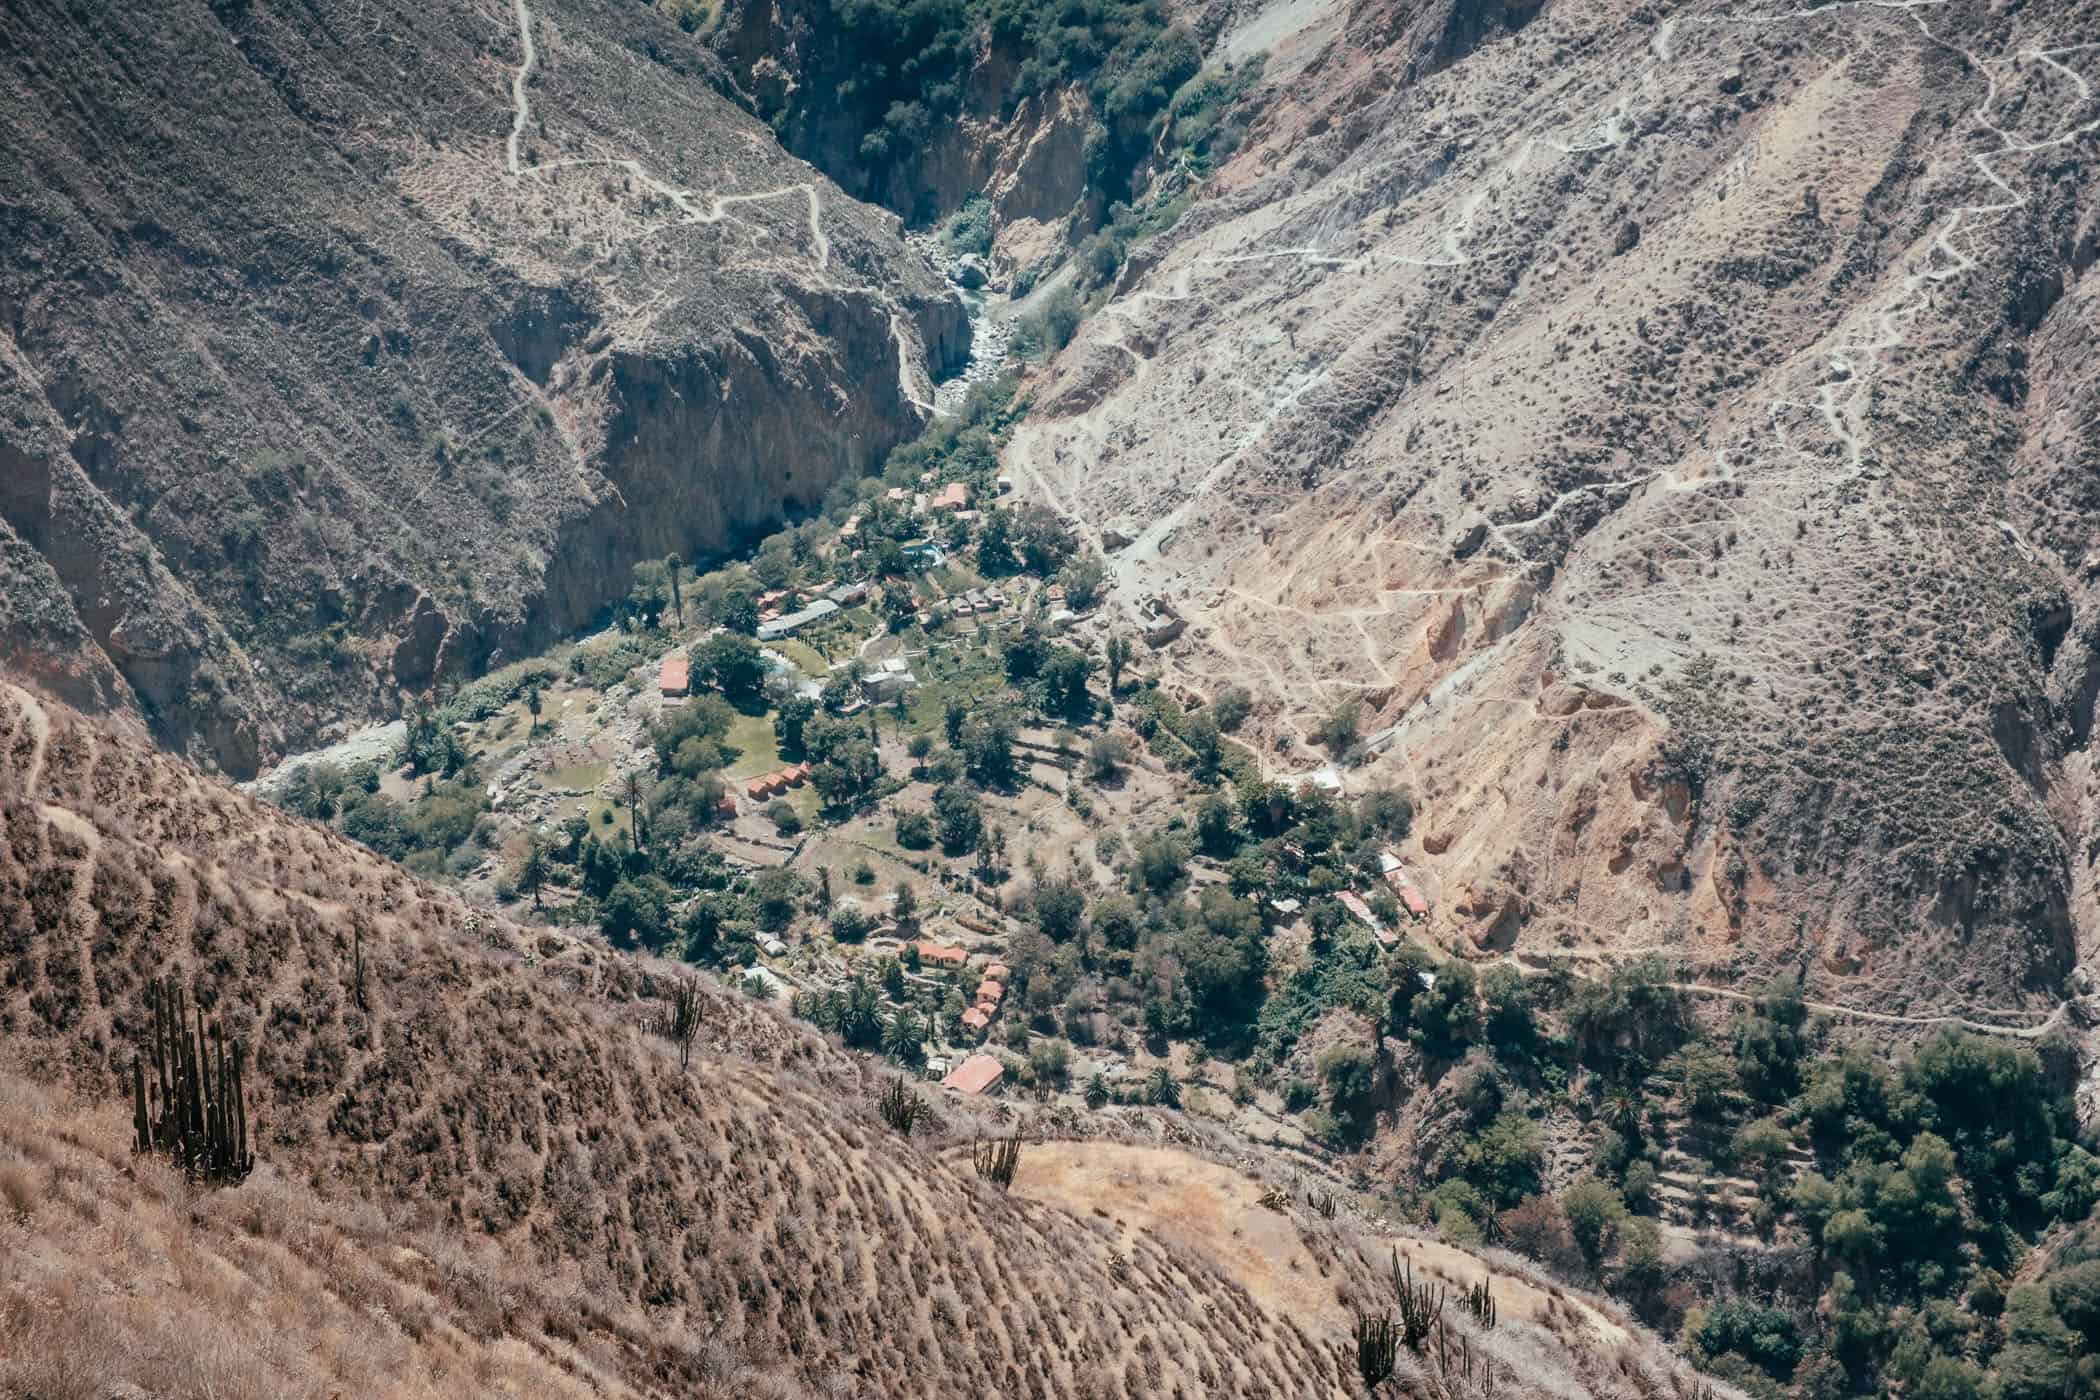
At the very bottom, where the sheer canyon walls meet, the Rio Colca is nestled among lush greenery.
what to expect.
A three-day/two-night hike into one of the world’s deepest canyons
A hike that is equally suitable for self-guided hikers and those preferring a guided or group hike experience
Super comfortable stays in guesthouses with hot showers, beautiful home-cooked meals, and thermal baths
You’ll pass through several local communities, giving you insight into rural Peruvian everyday life
location & trail information.
Where and getting there: Before and after your hike in the Colca Canyon, you’ll probably be staying in Arequipa, 220km from Cabanaconde, which is the start and end point of this hike.
To get to Cabanaconde from Arequipa, you can take the bus departing from the Arequipa Bus Terminal or a minivan to Chivay – Transportes Centella, for instance, leaving from Av. Andrés Avelino Cáceres – and then change to a colectivo to Cobanaconde. The same on the way back.
We opted for the minivan/colectivo combination because the bus leaves very early and still gets to Cabanaconde late, as it stops at various points along the way. If you take the minivan instead, you can leave at 8 am and still have plenty of time to walk to Llahuar that day. It’s much quicker, and we thought the minivans/colectivos in Chivay were well coordinated. We didn’t have to wait long for one to depart for Cabanaconde or for Arequipa on the way back. Get off the colectivo in the main square – Plaza de Armas – in Cabanaconde and follow the road that runs past Mirador de Achachihua to the starting point of the trek on the outskirts of town. There are very few trail markers at the start of this trek if any, and I doubt we’d have found the trail quickly without using GPS or a map.
On day 3, when you climb out of the canyon from San Juan de Chuccho, you’ll meet a road where you need to turn right, towards Cabanaconde. It’s a 20-minute walk on the road into town where colectivos for Chivay depart from the main square.
Where to eat: Breakfast is included in the room price at both hotels we stayed at and was very nice; they also serve dinner (vegetarian option available) and cold drinks; throughout the day, you can stock up on snacks and drinks at small kiosks along the way.
When to go: In the dry season – May to October – when there’s little chance of rain. Nights are colder at that time though and it’s peak season so you might have to book accommodation further in advance. I wouldn’t want to hike this trek in the rainy season, especially the slippery, steep downhill sections, but if that’s when you’re going, taking hiking poles will be useful.
How to prepare: You need to be reasonably fit and well-acclimatized to higher altitudes before attempting to hike to the Colca Canyon Trek. Spending at least 1-2 nights in Arequipa at 2335m will help you acclimatize and make your hike more enjoyable.
Book your accommodation online. At Llahuar, there are only two hotels, so you definitely want to book ahead.
Take warm clothes, as nights might be cold and swimwear if you think you might want to jump into the hot pools in Llahuar.
Take only a small daypack/backpack and leave the rest of your luggage at your hotel in Arequipa.
day 1
Cabanaconde - Llahuar
On day 1, you’ll pass through some farmland just outside Cabanaconde with great views from the rim into the canyon, before the trail starts zig-zagging downhill, rather steeply in some places. Taking hiking poles will help on the slippery bits with lots of loose gravel and sand.
Once you’ve reached the canyon floor and crossed a bridge to the other side of the Rio Colca, you’ll soon after arrive in Llahuar. It’s a tiny place with just two hotels, but both serve dinner and have beautiful gardens with fantastic river views.
track details.
Start: Cabanaconde
End: Llahuar
Distance: 9.6km
Time: 3.5 hours
Elevation gain: 430m / loss: 1610m (lowest point: 2110m / highest point: 3290m)
Difficulty: easy – moderate

Colca Canyon Trek map - day 1
day 2
Llahuar - San Juan de Chuccho
Day 2 for us was a lovely, leisurely walk through the canyon. We were in no rush and stopped often to take photos and soak up the views, because it was such a short day hiking.
Even with all the breaks, we arrived in San Juan de Chuccho by noon and spent all afternoon on the balcony sipping mango juice. If you’re keen to cover some extra distance, maybe add a side trip to Sangalle – nicknamed the “Oasis”.
It seems to be the most popular spot inside the canyon with most guided groups spending the night there. We had thought about visiting Sangalle, but then skipped it because the reviews of the hotels there didn’t seem too promising and there’s not much to do unless you stay the night.
track details.
Start: Llahuar
End: San Juan de Chuccho
Distance: 12.3km
Time: 4 hours
Elevation gain: 840m / loss: 515m (lowest point: 2110m / highest point: 2815m)
Difficulty: easy


Colca Canyon Trek map - day 2
day 3
San Juan de Chuccho - Cabanaconde
Day 3 is the most physically challenging as the trail gains 1000m in elevation to the rim. There’s not much else to say really – it’s a relentless, steep uphill climb for 2-4 hours, depending on your level of fitness.
The views are still splendid, however, and if you hike regularly and are well-acclimatized to higher altitudes, you won’t find this too challenging. Stock up on all the water you need in San Juan de Chuccho because you won’t be passing any streams on the way up.
track details.
Start: San Juan de Chuccho
End: Cabanaconde
Distance: 7.9km
Time: 2.5 hours
Elevation gain: 1090m / loss: 215m (lowest point: 2395m / highest point: 3430m)
Difficulty: moderate – difficult
